Showing posts with label copper. Show all posts

Friday, June 24, 2011

New Metal Projects

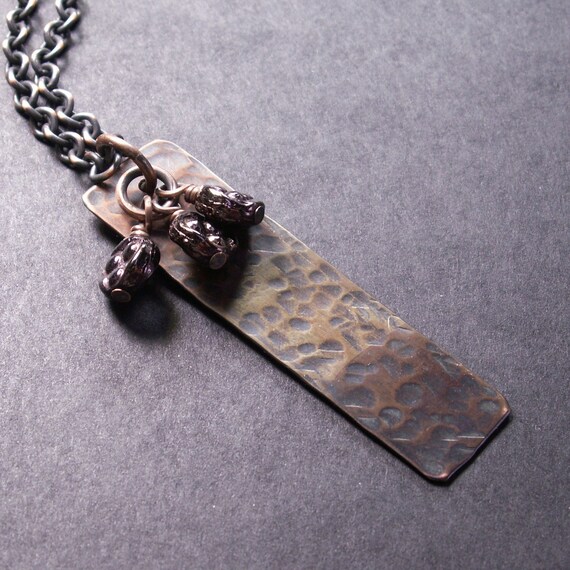
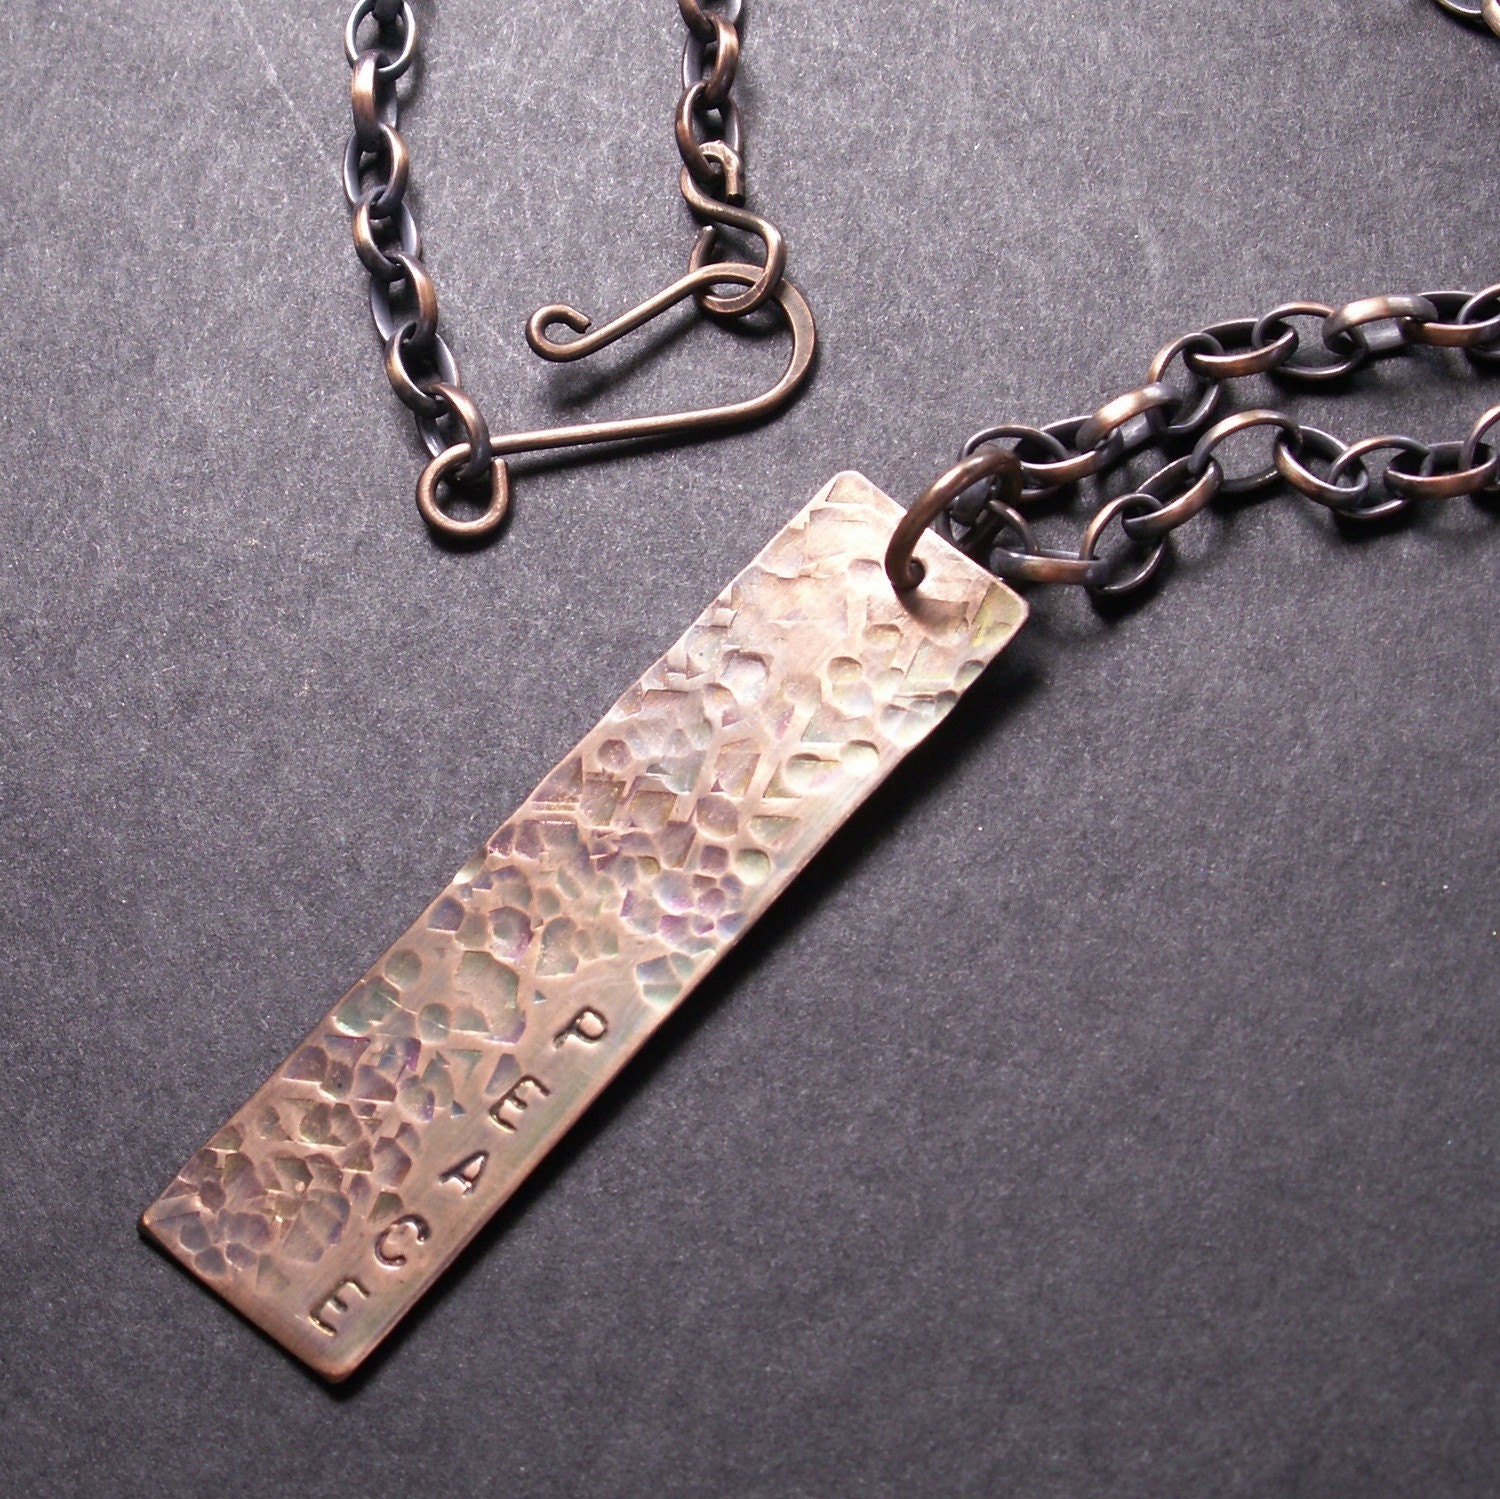
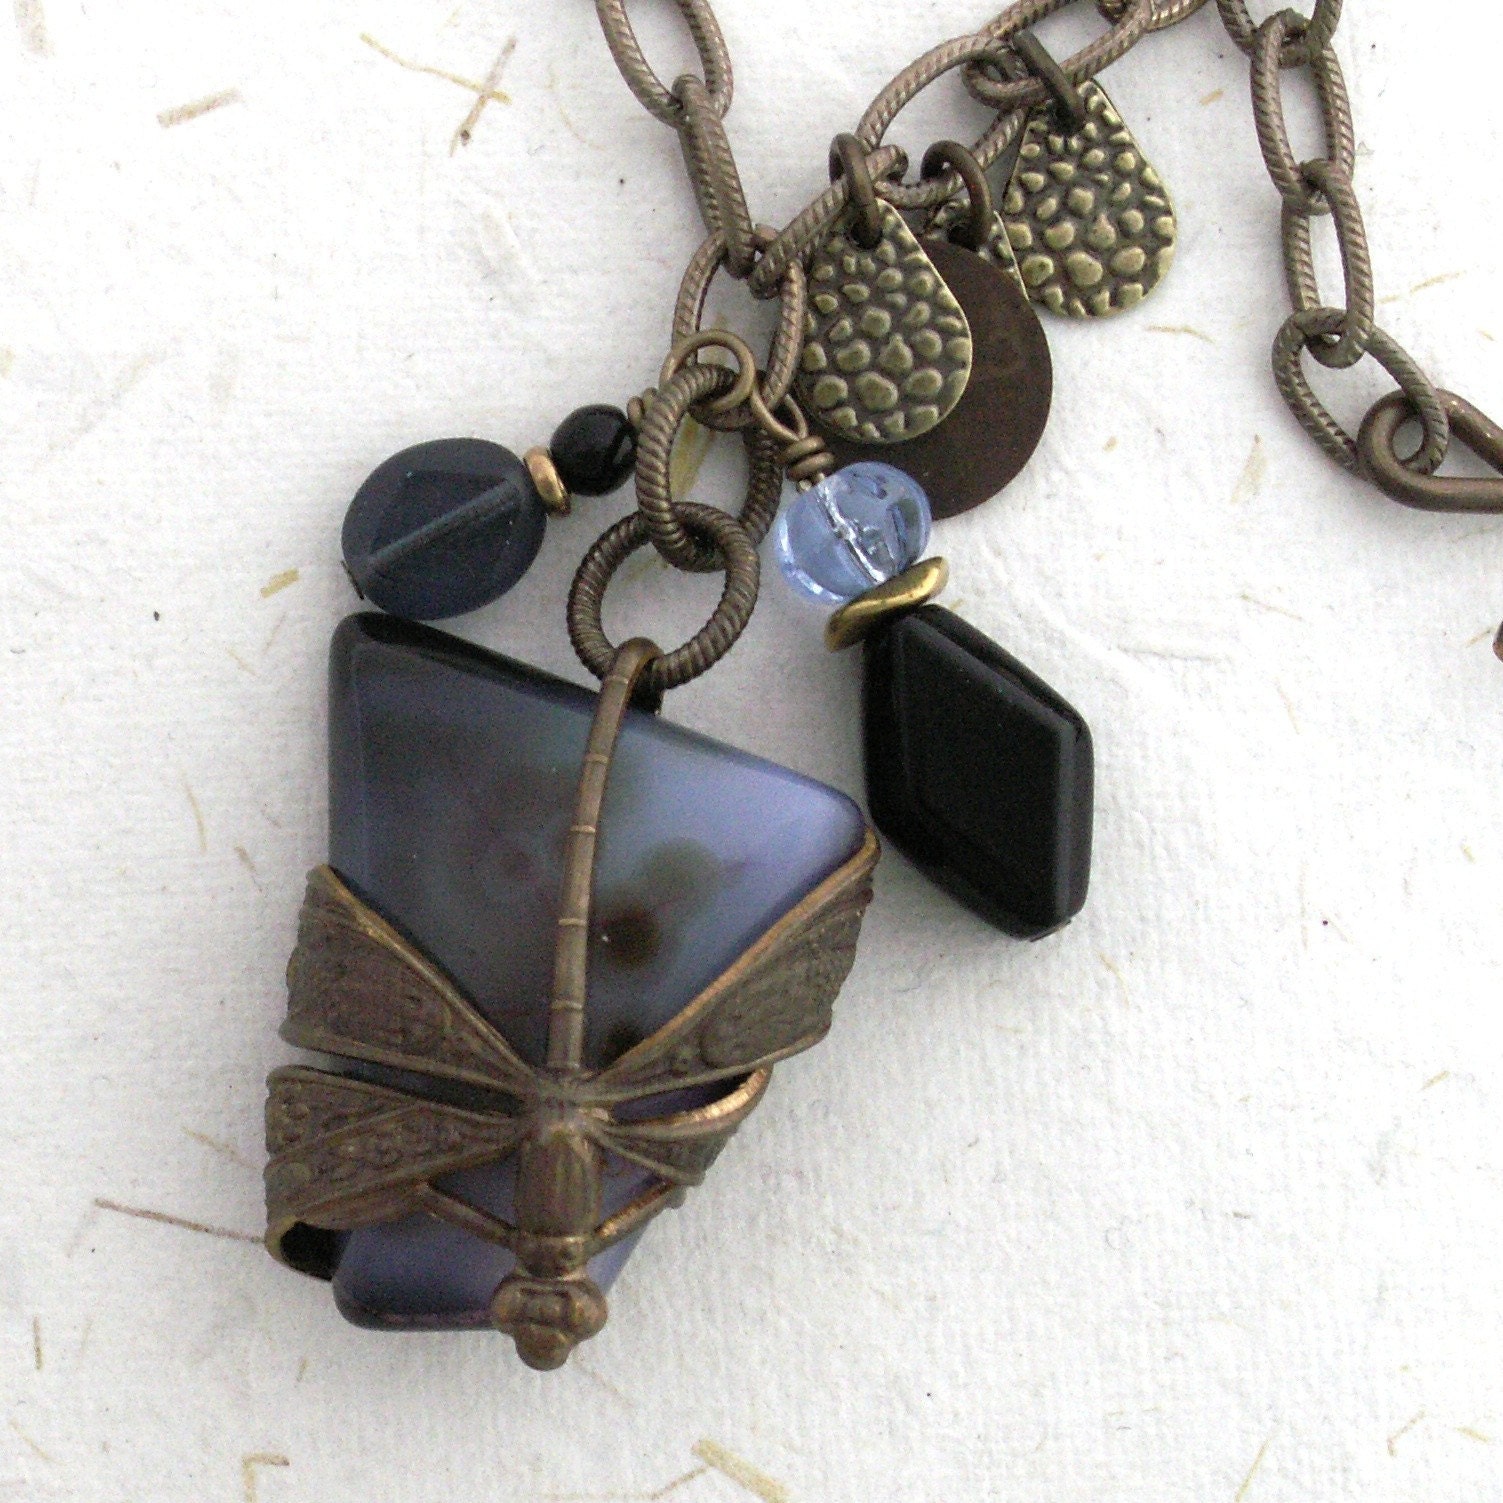
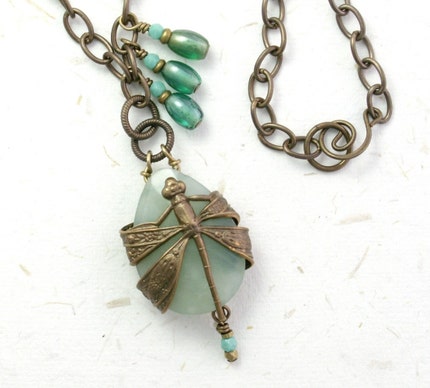
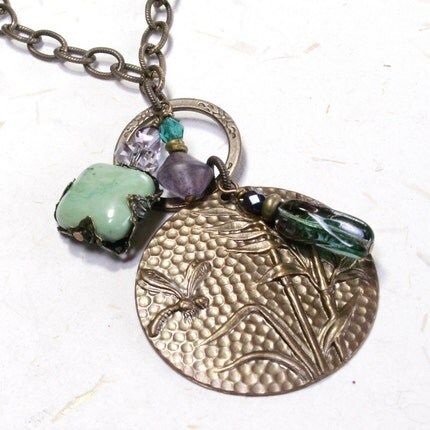
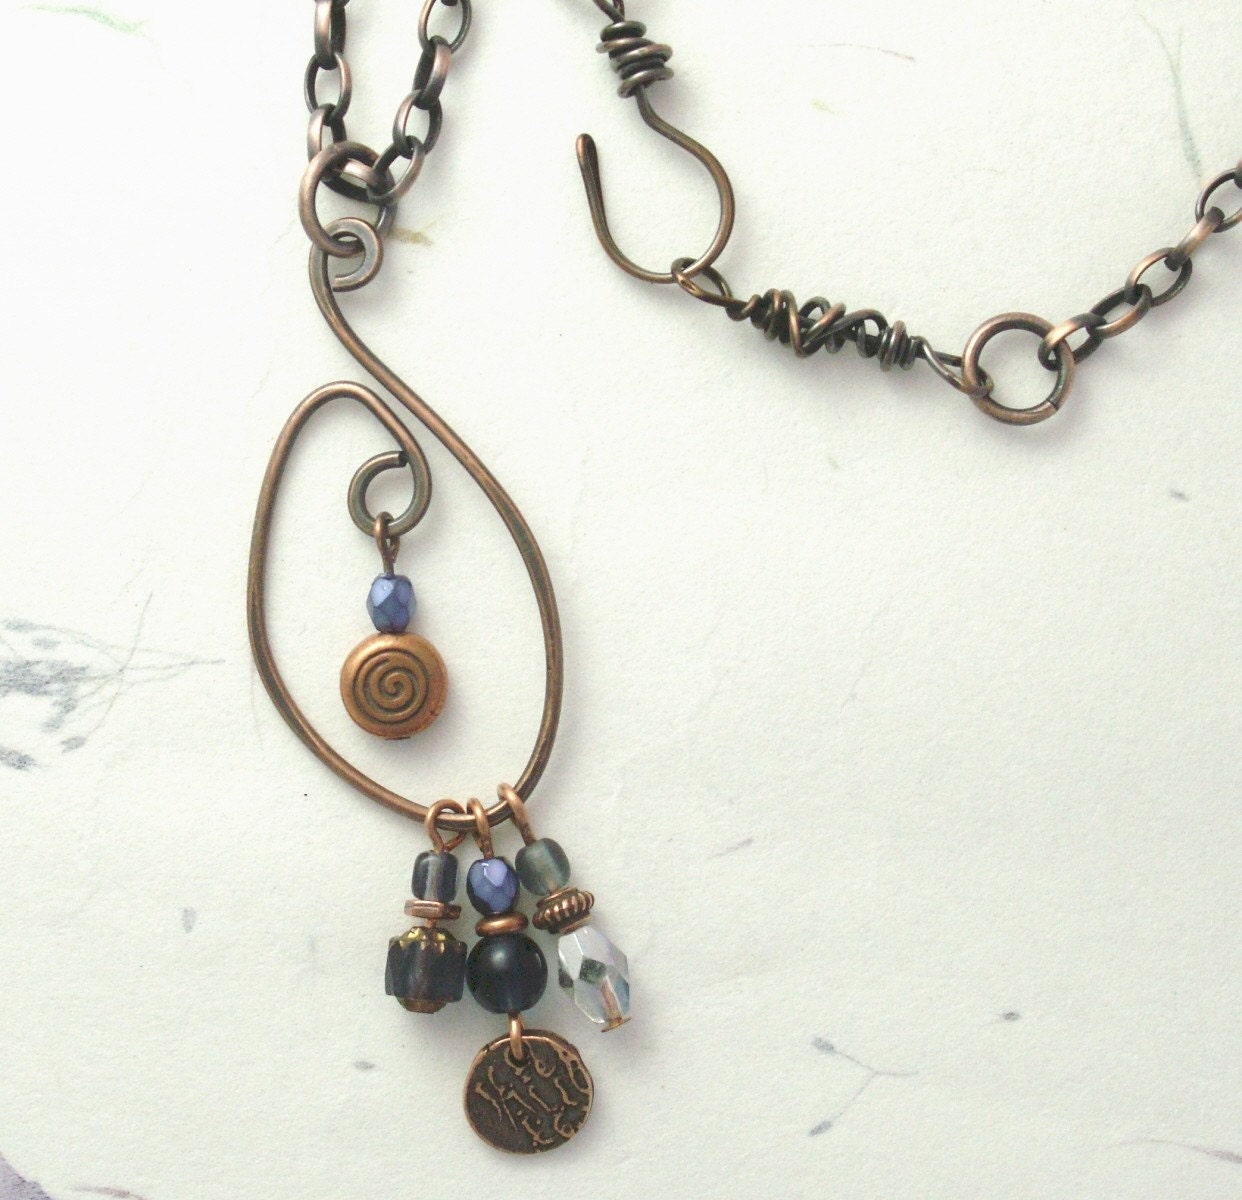
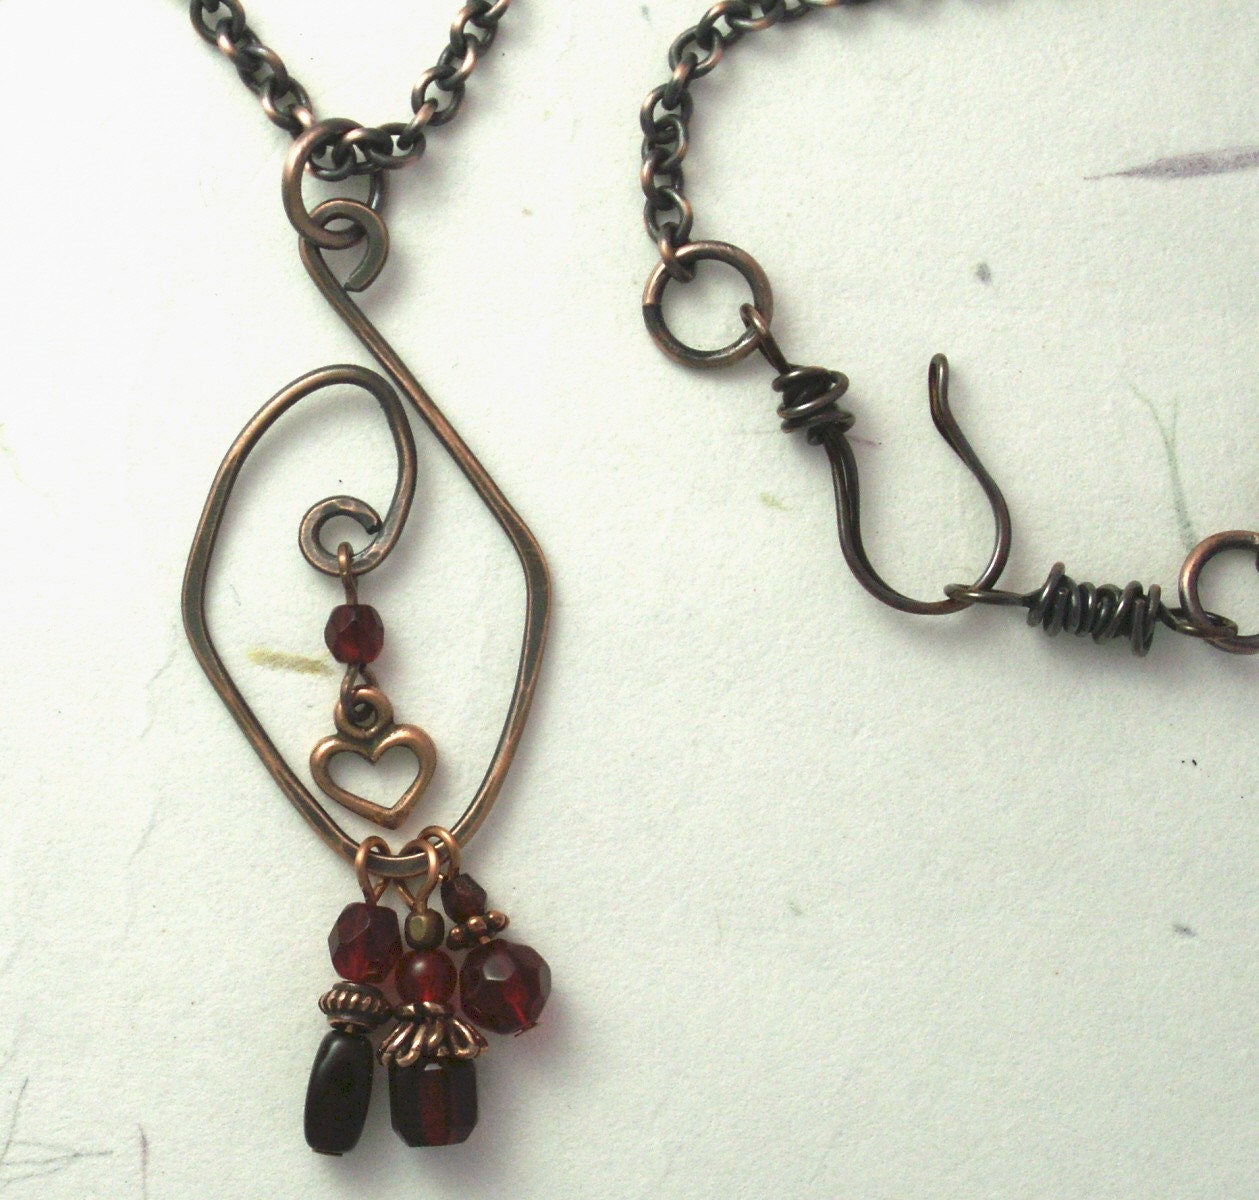
Remember this post?  It features a pendant I made while in class at Volcano Arts back in April.  Now that I have my new miniature jeweler's bench and a small drill press, I decided there were no more excuses -- I had to start actually making some things.

Starting with the same design featured in that blog post, I made 2 more pendants.  For this first one, I etched a piece of brass and free-cut a circle-ish shape.  Because most of the brass is hidden, you can't see the gorgeous leaf pattern that I etched.  The black layer is a ready-made circle of anodized aluminum I found in my stash.  The center piece is sterling silver that I stamped with the letter "S" around the edges.  The 3 layers are held together with a rivet I made from 14 ga copper wire.  The bail is also copper, with a sterling rivet to attach it to the pendant.


The bottom layer of the next pendant  is a piece of copper from a sheet that I patinated (about 4 years ago -- I still have plenty of it left!) with an ammonia and salt concoction that I learned from Linda & Opie O'Brien's book Metal Discovery Workshop.  The middle layer is another piece of anodized aluminum that matches the aqua patina below it very nicely.  The center is a copper circle that I stamped.  The rivets and the bail are also copper.


This last piece is one I started while still in class 2 months ago.  All of the complex sawing was done in class, without a plan for how I would finish it.  This is sort of a no-no, as I've been taught to have a plan (thanks Christine!).  Having a plan ensures that all of the steps are completed in the proper order.  I can't tell you how important this is in a metalsmithing project.  Because of my lack of planning, I ended up with plenty of scratches that could have been avoided, and stupid time-wasting work-arounds.


Taking that into consideration, I think the piece turned out great!  I'm especially proud of the back, where I can show off my improved riveting skills:


I am so pleased with all of my pieces ~~ *pats self on back*

Friday, November 26, 2010

Textured Copper Necklaces

I hope everyone had a wonderful Thanksgiving!  We had a bunch of new snow, which was great because it covered up all of that nasty ice!  Plus the house smelled great all day and we had a nice quiet dinner -- just the two of us.  Perfection.

OK -- BACK TO WORK!

Recently added to my etsy shop, these two necklaces are made from copper sheet that I cut, filed, hammered and patinated.  This first one is pretty simple, so I added the 3 metallic burgundy glass beads in front, for a little accent.


Next up, a similar copper panel.  This time I used my alphabet stamps to add the word peace along the lower right hand side.  A simple yet important message.


These necklaces are super affordable and will really appeal to a wide range of ages.  You can go directly to the listings in my etsy shop by clicking on the photos.  Don't forget to use coupon code NOV2010DISCOUNT to get 15% off your entire order!

Wednesday, August 18, 2010

Variations on a Theme

You've seen this style of earrings before.  If it's still selling for me, I'll continue to make it.  And it has been selling well, mostly in local stores.  While the possible combinations of tiny rondelles seems endless, I have a tendency to stick with proven winners: garnet & labradorite, peridot & amethyst.

This pair is quite different.  I used rhodolite garnets, mandarin garnets and citrine for a fruit punch sort of look.  The pink, orange and yellow combo has a nice appeal for me these days -- it's very refreshing!


 Click on the photo to go directly to the listing in my etsy shop!

Monday, June 21, 2010

Arrowheads?

When I first spotted these rutilated quartz briolettes in Tucson, I was puzzled.  They were most definitely in the shape of arrowheads!  I had never seen any beads like this before. Plus, the copper colored rutiles were abundant inside the beads, giving them a very complex look.

It's kind of hard to see in the photo, but the top part is "cut out", resembling the top of an arrowhead.


Of course, between the rutile pattern and the irregular shape of these beads, finding 2 to make a pair was tricky indeed!

These earrings are for sale in my etsy shop.

Thursday, June 17, 2010

Playing with Copper Wire

One of the best features of copper wire is that it is soft and malleable, making it so easy to work with.  And it also work hardens very easily with some strategic hammering.  I took out some 16ga copper wire and my Wig-Jig the other day and came up with these 2 designs that I really like.  There are several  other designs in my sketch book that proved too difficult to form (so much easier with a pencil and eraser than with actual wire!) and those are on hold for a while.


What's hard to see in these photos is that I oxidized the 16ga copper and then used copper colored craft wire for the wraps.  That wire is tarnish resistant, so there is a great amount of contrast between the earring framework and the wraps.

I used copper colored Niobium earwires in keeping with the color theme.  Niobium is a hypo allergenic metal and makes for really strong earwires.

Sunday, June 13, 2010

Butterfly Earrings

These earrings are simple, but have lots of detail and NO wire wrapping!  Amazing, right?  I needed a day without oxidized sterling silver wire, so I made a series of brass and copper earrings using many of the sweet charms and other elements I have in my inventory.  This pair is my favorite.


The two elements swing freely.  The contrast of the copper and brass is wonderful.  Click on the photo to go directly to the listing in my etsy shop.

Saturday, May 22, 2010

Shades of Green

Just when everything around me is finally turning green, I made these yummy earrings.  I hand forged the copper circles -- you've seen these before, as I use them quite often.  Along the bottom I used sterling silver wire to attach little rondelles of peridot and olive green cubic zirconia beads in a pleasing pattern.


This style is working well for me.  Trying to work efficiently, I made a series of these using all sorts of tiny rondelles and beads in interesting color combinations.  First, I made a big batch of the circle elements -- some in copper, some in brass and some in sterling.  Then I did all of the wire wrapping.  It's amazing how many pairs of earrings I can crank out when I'm organized and think through the process before I start.  They looked so pretty all lined up, waiting to be carded and priced.  I think I made 12 pairs.

This pair featured here has just been listed in my etsy shop.  Click the photo to go directly to the listing.

Friday, April 9, 2010

A Bunch of Dragonflies

Trying to work efficiently, I decided to make a bunch of these similarly designed dragonfly necklaces.  There are actually two distinct styles of necklaces.  One batch has the brass dragonflies wired to carved bone buttons.  The other batch uses textured copper as the backdrop.

I found the bone buttons at one of the gem shows in Tucson.  I was looking for more abalone buttons, but did not find any of decent quality.  These bone buttons are interesting and the neutral coloration should make them good sellers.  I suspended them on dyed silk ribbons.


I textured the copper with a combination of real, dried leaves and skeleton leaves (the kind you find in the scrapbooking section of the craft store).  I had better luck with the skeleton leaves, but this is a destructive process.  I went through quite a few leaves.  Oxidizing the copper highlights the texture.


I used rivets in the holes I drilled to attach the chain.  It gives the pendants a more finished look.


These will be for my shows later in the year, not for the etsy market.

Thursday, April 8, 2010

Rose Quartz . Copper Circles . Earrings

I just listed these earrings in my etsy shop a couple of days ago.  You're already familiar with my large circles that I make in sterling, copper and brass.  I selected a pair of copper ones for these earrings and suspended the smooth rose quartz briolettes from the bottom.  They looked so lonely down there.  Their subtle coloration needed a little boost, so I wired on some rose quartz rondelles part of the way up the side.  That's better.

I really like the contrast between the copper, which has a certain rosiness to it, and the quartz.  The earwires are my hand formed sterling silver design.  These earrings are for sale in my etsy shop.

Wednesday, April 7, 2010

Copper Etching

I learned how to etch copper several years ago and went through a period of non-stop etching.  That wore off and I have not used my etching supplies since.  When I woke up this morning, I felt like etching!  I dug out the supplies: ferric chloride, heating pad, plastic peanut butter jar, wire for suspending the pieces, resist (nail polish, sharpies, etc.), copper shapes, antiquing solution, yada, yada, yada.

I drew my patterns and words with fine-tipped specialty nail polish -- I think these tubes are designed for people who draw detailed designs on actual nails.  I also found a pack of Chartpak letters that I know make a good resist also.  They need to be burnished onto the surface of the copper very well.  I covered the sides and back of the pieces with Sharpie so those places would resist the etching process.

I suspended the pieces in the ferric chloride (in the peanut butter jar) and placed it on the heating pad set to medium.  This is not absolutely necessary, but heat speeds up the process.  After an hour, I pulled the pieces to check the etch depth.  It was good!

Next, I removed all the nail polish and smoothed the rough edges.  Now the pieces were ready to be antiqued.  I think they came out great!


... except where the nail polish was applied too thickly at the start of the word memory here:

All in all, a very fun day!

Tuesday, July 28, 2009

Brand New Earrings!

handmade jewelry earrings sterling silver copper turquoise lapis amethyst
These earrings are a variation on my new-ish copper hoop style earrings. I've sold a few pairs of those, so it was time to make some more. To keep it interesting, I decided to vary the design. These earrings are the result.

Along the bottom edge of the copper circle, I wire wrapped some turquoise nuggets, tiny lapis beads and amethyst rondelles. I chose to keep that sterling silver wire bright, but I oxidized the hand made earwires. I think I like all of that contrast.

These earrings are available in my etsy shop. Or, click on the photo to go directly to the listing. If you like this style of earring, but would like to see different stones, just let me know and I'll see what I can do!

Saturday, July 25, 2009

New Letter & Number Stamps

I purchased a new set of letter and number stamps for metal stamping from Evies Tool Emporium. I already had a 4mm set, and those were fine for my metal book covers. But I found them to be too large for my jewelry designs. The set I purchased from Michelle at Evie's is 2.5mm -- just right!


These pendants are copper. I cut the pieces of metal using my new brake and sheer combo tool that I scored at a yard sale a few weeks ago. The cuts made by the sheer are so much cleaner than I was getting from my handheld scissor-like shears. This made the finishing of the edges much less labor intensive. It's all about the right tools.

I also used my texture hammers that Rick made for some of these pendants. I used a metal oxidized liquid to tone down the super shiny bright copper finish on the raw metal. After sanding with 400 grit paper, the results are a mellow, slightly rosy copper color. Again, just right!

Wednesday, May 27, 2009

A Series of Textured Metal Pendants

I completed a good sized batch of metal pendants last week. Starting with copper and brass sheet, I set up a little assembly line type operation: cut shapes, file, sand w/280, sand w/360, sand w/600, texture, patina, assemble. See, I really can work efficiently when I put my mind to it!

The only really fun parts were the texture and assemble steps of the above list. The remainder of the process was quite tedious.


I used two different patinas: liver of sulfur and an antiquing solution which works only on base metals like copper and brass. Lightly sanding with 400 grit polishing paper after applying a patina provides a great contrast, as it leaves the low spots dark, while effectively erasing the patina from the high spots.


It was interesting to see how the antiquing solution gave such different results on the copper and brass. I also practiced my letter stamping on a few pieces. I think I need much more practice with that stop.


Assembling and adding beads was quite a bit of fun. Trying to match the mood of the metal pendant to appropriate beads and charms took quite a bit of time.


And my favorite piece is the brass panel embossed (with the rolling mill) with a leaf pattern, and embellished with a brass dragonfly element. I may just keep this one.


Tuesday, May 12, 2009

Using the Hammers!


After spending so much time prepping the metal for hammering, I didn't want to hide very much of it. In the spirit of keeping it simple, I used the same copper leaf charm as an embellishment on both necklaces. The charm is from The Beadin' Path, where I always manage to find unique elements to include in my jewelry.

This first necklace is brass -- the same piece from yesterday's blog post. I removed most of the heat patina and started over with Woodfinishers Antiquing Solution, which works wonderfully on base metals such as brass, copper and nickel silver. I sanded it with 400 grit paper to highlight the high spots. The bead is etched black onyx. I used copper chain, which I also patinated and selectively sanded.

This next necklace is copper. I used a different hammer to texture this piece of metal, but the rest of the treatment was the same. I drilled the hole for the chain on the corner, just because. The bead is Czech glass with an iris green metallic finish. I've always liked the way copper looks with green.
There you have it! My first adventure with the new hammers is now complete.

Monday, April 6, 2009

Rick's Beads

handcrafted jewelry bead copper brass sterling silverMany of you know that Rick is a talented metalsmith. He didn't get there overnight. He trained as a machinist and worked for many years as a welder, working on some of the largest construction projects in Alaska. About 4 years ago, he decided to try his hand at a different sort of metal work -- jewelry. He has proven to be a quick study and his natural charm (HA!) works very well on his adoring customers (double HA!).

I've decided to add some of his handcrafted beads to my etsy shop. They're gorgeous and can be worn alone or incorporated into a more complex design. This is only one I've listed so far, but there are more to come. Stay tuned!

Thursday, March 5, 2009

New Earring Design

jewelry copper earrings sterling silver brass mixed metals
Before I left for Tucson, I started a series of new earrings that represent a departure in style for me. While I have been leaning towards metal work for some time now, these earrings are the first leg on a new journey.

The twisted loops are copper that I hand formed and hammered for textural interest. I attached the sterling silver puffy lentil bead (at the bottom) with brass wire. The earwires are hand forged from sterling silver wire -- my signature earwires.

A friend asked: "What was the inspiration for these earrings". The only answer I could come up with was: "the spool of 16 gauge copper wire staring at me"!

I have a series of these earrings in progress on my worktable. Most of them have variations in the bottom embellishment, and some of them have different earwires, depending on the look I want to achieve.

Click the photo to go directly to the listing in my etsy shop. Don't forget to sign up for my newsletter by filling out the form on the right. I'm preparing to send another one soon, with a special offer for subscribers only!

Saturday, January 17, 2009

Completion of My Metal Book


I wasn't sure it would be possible for me to finish this project, but alas, I have completed the book. While I'm happy with the results, this book does not have the finished, polished look of the book I made in class.

The coptic binding was easier that I was expecting, thanks to the detailed notes I had. After my class at Volcano Arts, my classmate Shari and I decided to write down detailed instructions on how to do that binding. Without those instructions, it would have been far more difficult.

Thursday, January 15, 2009

Metal Book Project

Remember the metal covered book I made at the fabulous class I took at Volcano Arts last spring? I decided to make another one ... all by myself ... without the instructor telling me what to do every step of the way.

I didn't think to take pictures early in the process, but here's one photo of all of the parts, ready to assemble. The copper covers have been cut, sanded and patinated. The decorative brass elements have been similarly prepped, but have no patina on them. I etched a fern pattern on the small nickel silver component. When these pieces and parts were all ready, I took them out to Rick's shop to use his drill press. (I think I want one of those) While in his shop, I used his torch to make ball headpins from 14 ga copper. My little torch would barely make that gauge of wire hot!I keep this work table covered with unprinted newsprint (purchased in rolls from the ADN), unless I'm using a torch, of course! The paper is great for making quick notes and writing down measurments. In the far background you can see the original book that I made in class. Next to it is a set of radial bristle discs for polishing the metals. In front of that are the six signatures for the text block. You can also see the vise and nail-set that I will use to set the copper headpins. When set , they will be the rivets that hold the parts together.
This is the same bunch of stuff, just a different anlge. Off to set those rivets!

Wednesday, December 10, 2008

Dragonfly Lovers Unite!


I just listed a brand new pair of earrings in my etsy shop featuring little brass dragonfly charms. These round charms are resting on a textured leaf charm of copper. These warm metals look beautiful together. If you're looking for some cute and lightweight earrings, these are perfect for you.

As long as we're focused on dragonflies, here are some other pieces of jewelry in my shop that have dragonflies on them in one form or another.

Thursday, December 4, 2008

Coppery Goodness

necklace copper wire oxidized beads swirly
I've owned my Wig-Jig for several years and rarely use it. Then, earlier this year, I was playing around with some 18 gauge copper wire and developed a pattern I thought might make a nice pendant at a very affordable price.

I made a series of these necklaces in a variety of color schemes and most of them were sold during my fall shows. There are two listed in my etsy shop, and I've pictured them here.

The chains are solid copper and I hand-crafted a simple hook clasp from copper wire. I oxidized all of the copper and hand sanded it, allowing just some of the copper color to show through.

Visit my etsy shop to see more photos of these necklaces and my entire jewelry collection.