Showing posts with label handcrafted. Show all posts

Wednesday, May 1, 2013

New Earrings and a New Keyboard!

My online activities have been limited for the past 8 days because my keyboard broke. No, it didn't break all by itself. Jet was under my desk, the cable got stuck on his head somehow, he got spooked and ran. The keyboard suffered.

I went directly to amazon (On my iPad because without a keyboard, going anywhere online is difficult. Couldn't believe amazon.com WAS NOT in my browser history!) and ordered a new, wireless one. It is a dream!! And it wasn't even expensive.

In the meantime, making listings on etsy was tricky business. I had to create the listing on my iPad and save it to draft mode. Then, I would go to my computer and add the photos to the listing. Tedious to say the least. What I learned is that it IS possible, just very inconvenient.

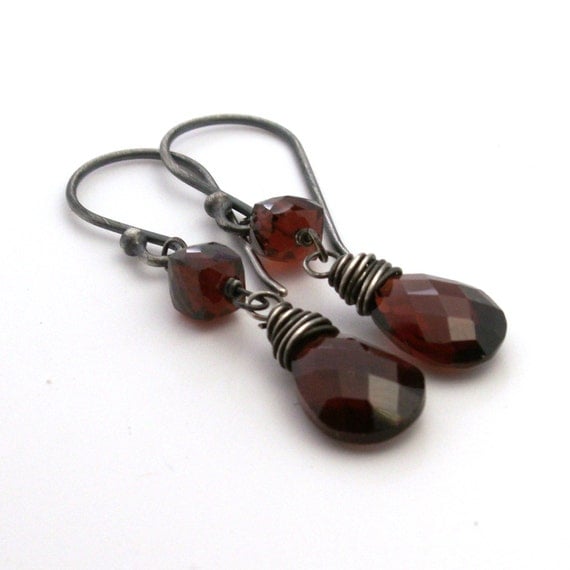
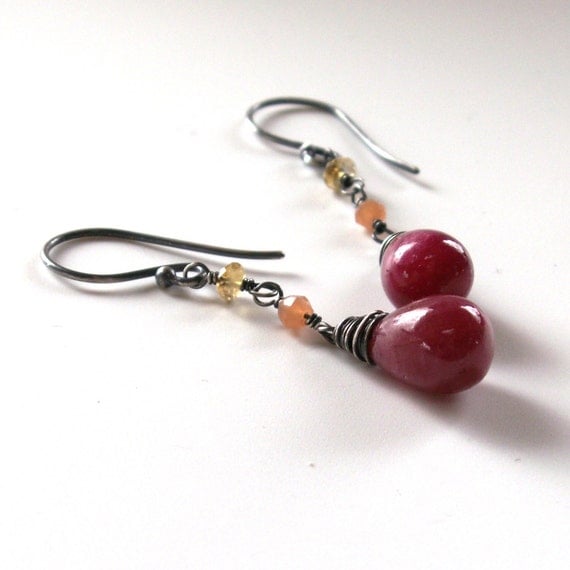
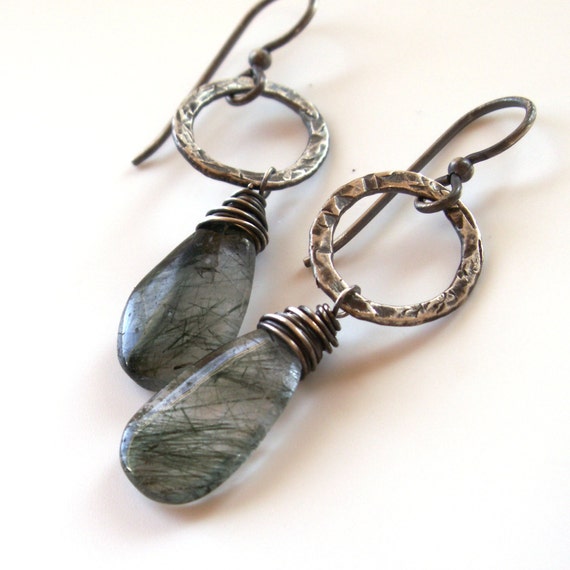
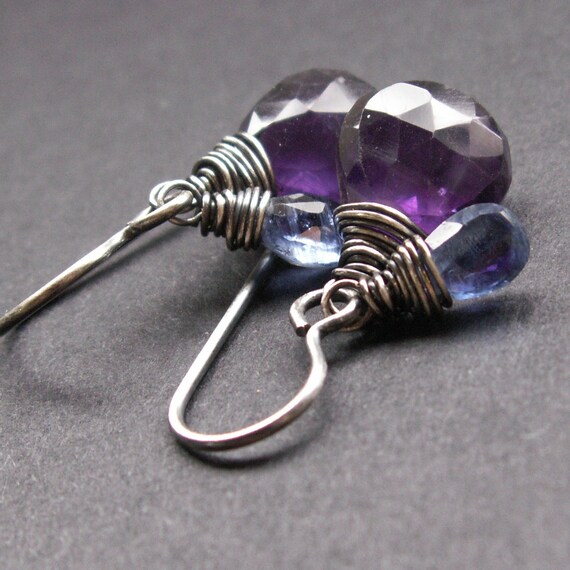
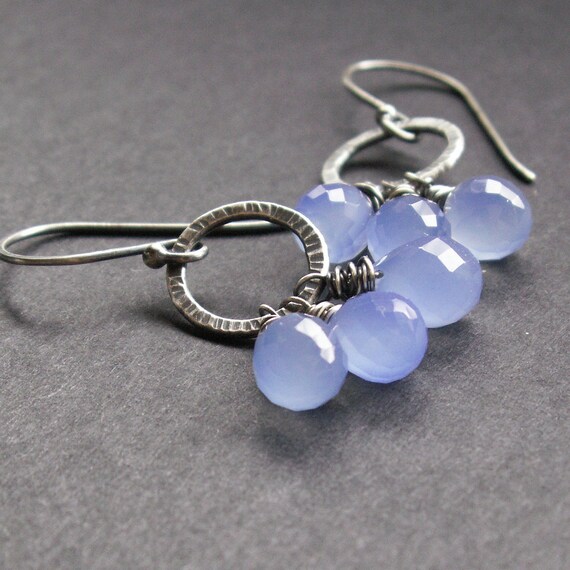
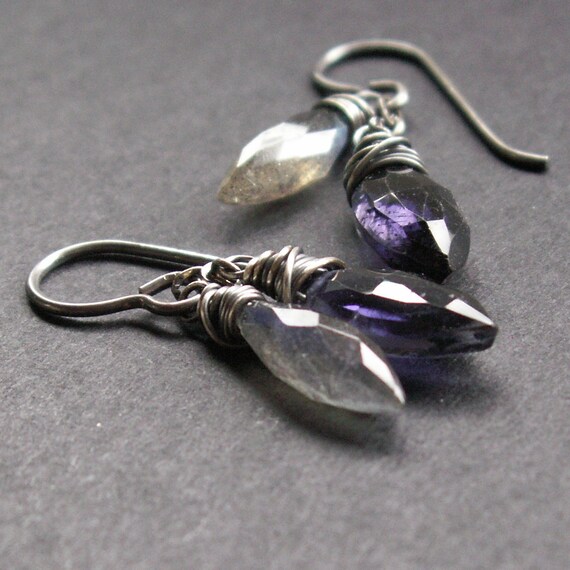
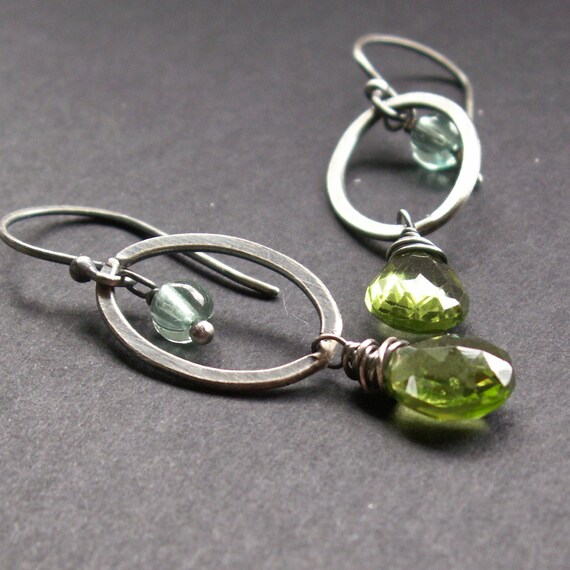
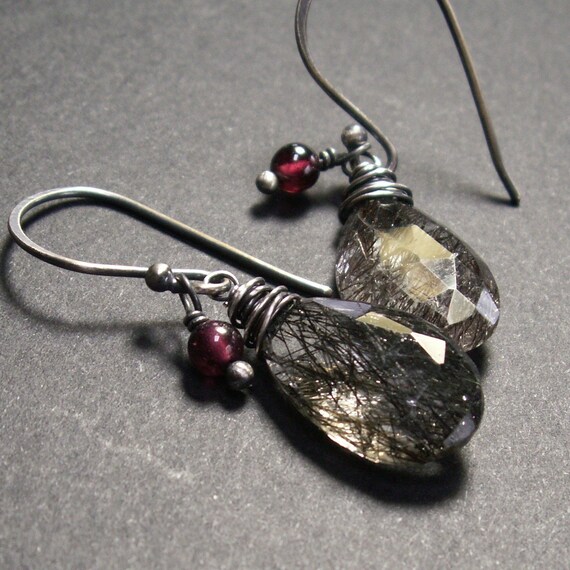
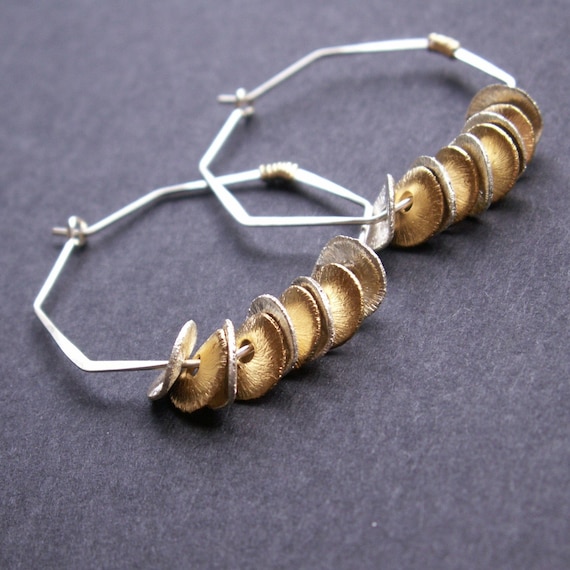
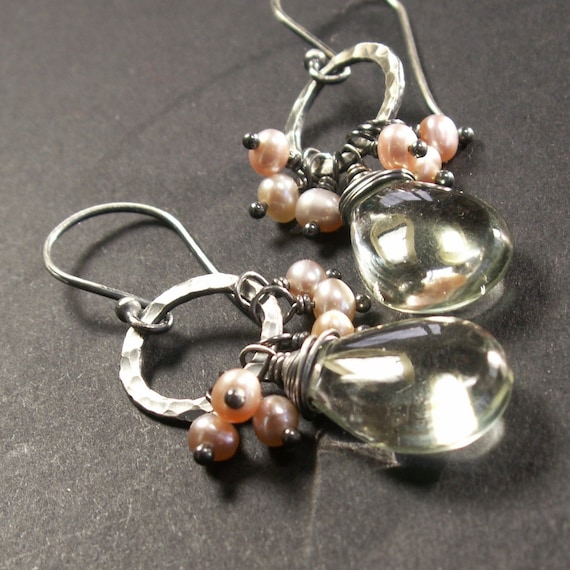
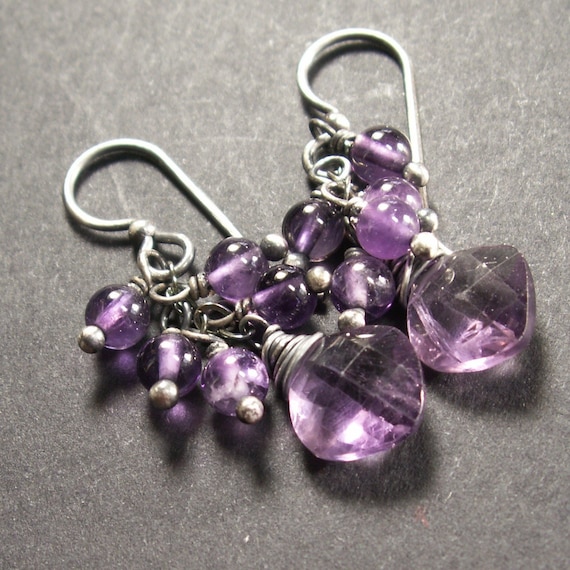
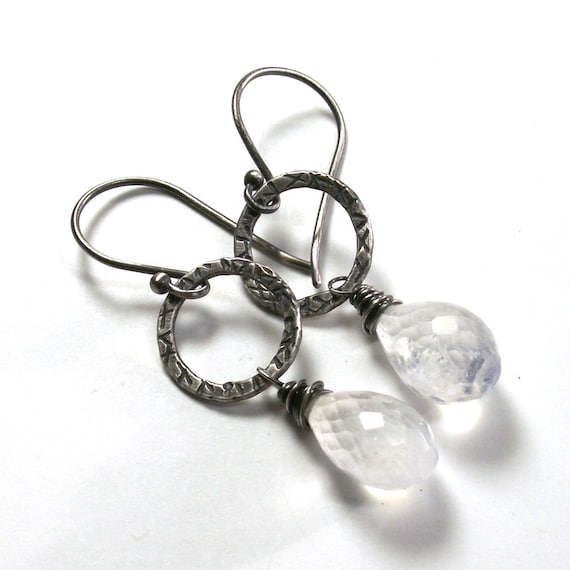
Anyway, here are a couple of pairs of earrings I listed in the past week.
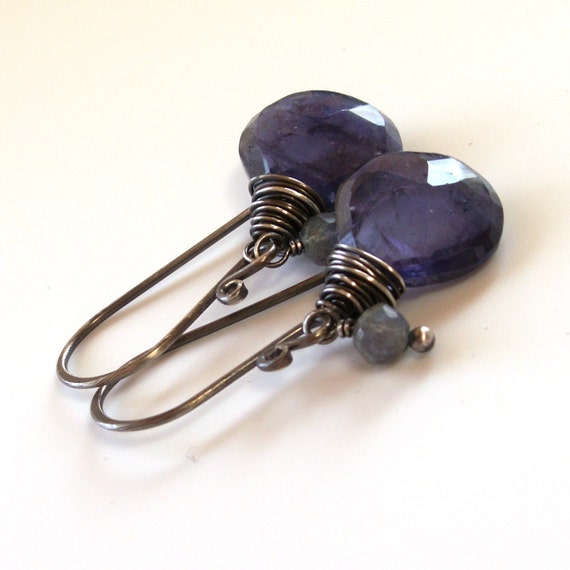


You can click on any of the captions or the photos to go directly to the listings in my etsy shop!


Thursday, February 21, 2013

Triangles and Wire

Sometimes the simplest jewelry designs are the most enduring. Back in November I did a blog post about resurrecting an old style of earrings that I got tired of making. In that post I proclaimed that I would work on those earrings the very next week. HA! Three months later, I finally did it. I need to remember to NOT commit to such tight time frames any more.

Back to the earrings. They really are very simple. I start with a length of 20 ga wire and make a tight spiral. Hammer (or roll) to flatten, form in and around the triangle glass bead, make the hook part and finish. It took me a bit (2 pairs)  to remember some of the finer points of the forming. But then it went rather quickly.


There are 22 pairs in the photo above. Some are done with sterling silver wire and some are with gold filled. Some are larger triangles (12 mm) and some are small triangles (7 mm). Some are transparent, some are opaque and some have a matte finish. There are a couple of pairs with a metallic finish and a couple of pairs where the glass has graphic patterns.


Cobalt blue, transparent, large, sterling silver


In the center: red, transparent, small, gold filled
In the foreground: bronze metallic, opaque, small, gold filled
In the background: amber, transparent, large, gold filled


Cobalt blue, opaque (matte finish), large, gold filled


Teal, translucent, large, sterling silver

I'm not sure which pairs will end up in my etsy shop. It will depend on which ones photograph well and which ones I can recreate, based on how many glass triangles I have in stock in any particular color. The sterling ones will be $25 and the gold filled will be $28.
If you see a pair that you would like to have, let me know!

Wednesday, June 27, 2012

A New Earring Design!!

I've been plugging away, building earring and necklace inventory for our busy Alaskan summer tourist season, relying on tried and true designs.  Then, just 2 days ago, a new idea popped into my head.  It's actually a variation on a design I did a few years ago and allowed to fizzle out.  I love when this happens -- just when you think you'll never come up with something new, there it is!

I started with one of my sterling silver tornado elements and wrapped size 15 seed beads all around it.  Yes, I have done this part before.  The new variation is the dangle on the bottom.


I will probably list a few pairs in my etsy shop eventually and the rest will be for my booth at the Alaska State Fair and my fall craft shows.

Whiskey Quartz cubes with gold seed beads


Garnet Briolettes with rosy seed beads


Amethyst Briolettes with purple seed beads

And yes, there are plenty more pairs completed and several more in the planning stages!

Sunday, April 8, 2012

Seed Bead Projects

For a while now, I've been wanting to start working with seed beads again.  I used to do quite a lot of bead weaving, but in recent years, that activity hasn't had much appeal.  Suddenly, the desire came back!

I signed up for a beaded cabochon class at the Alaska Bead Company and made a wonderful brooch.  I have a bunch of these gorgeous labradorite cabochons and selected one to work with in class.  I'm very pleased with the way it turned out.


Even though I somehow got the pin back finding on crooked, it won't matter once it's pinned on.


Another seed bead project involves a bracelet pattern a bought at one of the Tucson bead shows from June Wiseman of Tapestry Beads.  The bracelet is called Ebb and Flow and it's the perfect name for it!  The pattern was extremely well written and very easy to follow.  The resulting bracelet is fabulous, if I must say so myself!  Even the toggle clasp was easy, which surprised me.


I chose some metallic and metallic looking beads for this bracelet.  I think it will go with just about anything I wear.


I liked the pattern so much that I immediately made another one in blues.


What seed bead projects should I tackle next?

Thursday, May 5, 2011

Lots of New Earrings in My Etsy Shop

I have been on an earring-making freight train since late February.  I needed some for wholesale, some for consignment and some for my etsy shop.  Here are a few that I recently listed.


There are more, but this was getting to be a boring sort of post.  Click on any of the photos to go directly to the listing.

Monday, May 2, 2011

The Tragedy is Now a Success!

Hey, remember this post, about the chipped ruby in zoisite briolette? I finally made time to try my idea of building up the chip with modeling paste.  What I had on hand was molding paste, often used with stencils.


I sculpted a bit of it onto the broken area, with a piece of wire in the hole.  Then I removed the wire and let the paste dry for about 2 hours.  I proceeded to wrap the stone with sterling silver wire as I normally would and viola!


If you can't tell, the one on the right was the broken one.  The molding paste was white and a bit of it was showing, so I used a black sharpie to cover it up.  I am pretty pleased with these results.

Tuesday, April 26, 2011

Volcano Arts Part III -- A Ring

I had never made a ring prior to this project -- not even a wire-wrapped ring.  Sure, I've purchased plenty of lovely rings, but now it was time to make one.

Disclaimer:  this project was truly a joint effort between myself and Christine, the owner and instructor at Volcano Arts.  I screwed up enough aspects of this ring that I required her assistance more often than not.

Starting with 18 ga brass sheet, using the rolling mill, we rolled a texture onto both surfaces.  Then we cut the sheet to the desired width (about 5 mm).  I then filed all the edges and rounded the short edge that would be exposed on top.  A photo would be helpful at this point.


Working with a ring mandrel and rawhide hammer we  Christine finally made the ring round.  This took a verrrry long time.  Drilling holes for the rivets came next.  Making, inserting and setting the copper rivets was the last step.  This brief description makes this ring sound simple, but trust me, it was anything but.

The problems included a broken drill bit in one of the holes, unmatched rivets, a rougher-than-I'd-like interior where the rivets are.  Other than that, I LOVE this ring!


Will I make another?  Probably ... someday.

Monday, April 25, 2011

Volcano Arts Part II

As promised, here's a look at the second piece of jewelry I created during my class at Volcano Arts.


Some of the details --

The bottom circle was sawed --freeform again! -- because I wanted the edge ruffled instead of being perfectly smooth.  I sawed it out of the same piece of etched brass as the dome on my first pendant.

The middle circle was made using a disc cutter.  Using a riveting hammer, I made a starburst pattern, then domed it in a dapping block.  Finally, I ruffled the edges with pliers.  It is nickel silver, an alloy of copper, zinc and nickel.

Christine, my instructor and the owner of Volcano Arts, created the center piece by melting copper scraps, which turned into a ball. I forged it flat-ish, letting it retain its rustic look.


The rivet holding all 3 pieces together is one I created from 14 ga sterling silver wire.  I cut the bail from copper sheet and it is connected to the pendant with another handmade sterling silver rivet.

A peek at the back of the pendant, where you can see that I did a much better job of setting the rivet.


The last thing I did was patinate, with a quick dip in liver of sulfur, followed by a very light polishing with 800 grit polishing paper.

My last project was a ring and I'll share that with you soon!


Sunday, April 24, 2011

Volcano Arts Part I

I am home from my week long class at Volcano Arts.   My creative juices are flowing and my mind is trying desperately to keep up!  I had a fabulous time learning some basic metalsmithing with cold connections.

I managed to complete 3 pieces of jewelry and came home with another one partially done.  I'm planning a series of blog posts (3 or 4) to cover all that I want to share with you about my week -- I hope I keep it interesting enough that you'll stick with me throughout.

There was only one other student in the class, so we each had a lot of one-on-one time with Christine, our instructor.  This really worked to my advantage, as well as the fact that I had some very specific ideas as to what I wanted to make.  I had even done some sketches -- I rarely do that, but I think that might change now.

The processes involved in my first project included etching, sawing, filing, riveting and patinating.  I had big plans to photograph each step, but I completely forgot about that, so all I have are photos of the finished product.


This angled photo shows you the dimension I was able to achieve with the design.  I sawed the circle, including the bail, using a jeweler's saw.  This gave me an immense amount of confidence in my sawing abilities and it was a great way to start the week.  The domed piece in the center is a piece of brass that I etched using a gorgeous rubber stamp.  It is actually a large rubber stamp -- this small piece was stamped out using a circle cutter.  You'll see where I use more of that etched image in my next project - stay tuned!

Here's a view of the back, showing you some complex sawing for a beginner like me.  The base piece is copper that I patinated.  The rivet is one I made from brass wire.  Yes, the back of the bail is quite scratched.  I learned that it's easier (and a whole lot smarter) to avoid making scratches in the first place, than it is to remove them later. 


One more photo of the completed piece.  Not bad for a freehand sawed circle, huh?


Wednesday, April 6, 2011

Rutilated Quartz

I've made a couple of new pairs of earrings that are variations on a theme.  I tend to do this variation thing a lot.  I listed two of the pairs yesterday in my etsy shop.

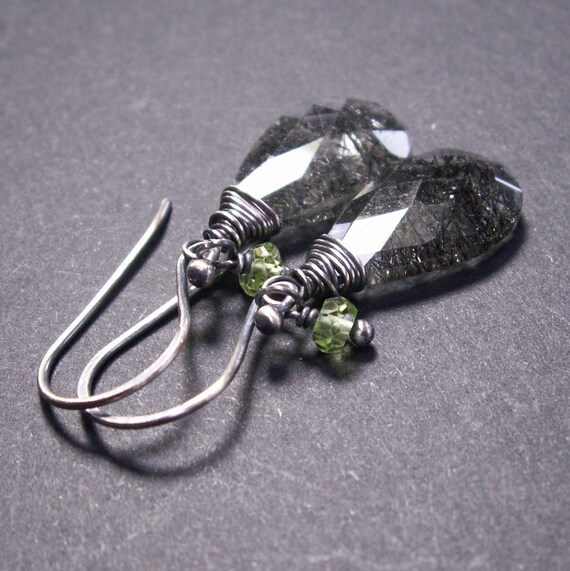
Rutilated Quartz with Garnets:


Rutilated Quartz with Peridot:


I'm sure I will find more rutilated quartz pairs to continue this theme.  Some of the little beads I plan to add are aqua blue cz, citrine, black spinel, crystal quartz, carnelian.  They probably won't all end up in my etsy shop, but will instead be consigned or sold wholesale.  Later in the year, I will make more that will be part of my show inventory.

Thursday, March 31, 2011

Ruby in Zoisite or Oh, The Tragedy

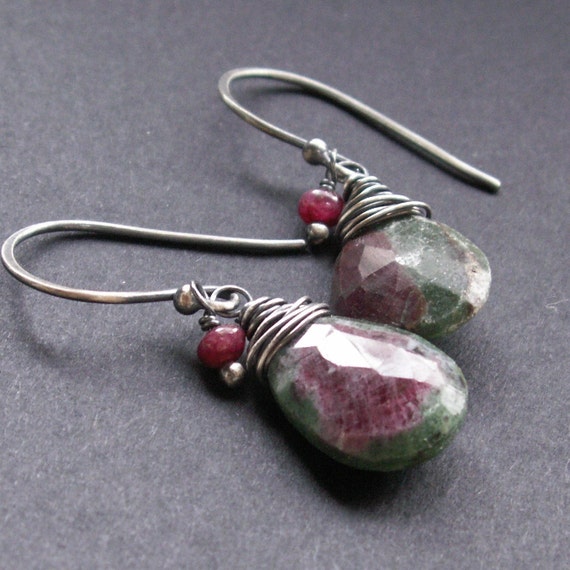
I have posted about this lovely stone in the past, here.  I decided to go through my remaining specimens to find some additional pairs for earrings.  You know how I love to make pairs. I found several suitable pairs and listed one of them in my etsy shop.    Click on the photo to go directly to the listing.


I found a couple more pairs, one of which is causing me great consternation and frustration.  The top of one of the stones is severely chipped.  So badly in fact, that even after two attempts at wrapping it, I set it aside to wait for a better idea.


As you can see, that's a pretty decent pair, considering the random patterning typical of ruby in zoisite.  Here is a close up of the chip.  It breaks my heart.


I thought the wire wrapping would hide the chip, but all it really did was accentuate it.  I'm considering using some modeling paste to "build up" the chip area to give the stone the same shape as the other one.  If anyone has tried this, please let me know.  Or, if you have any other ideas on how I can make this work, please share.  Thank you!

Wednesday, March 23, 2011

Totally Green

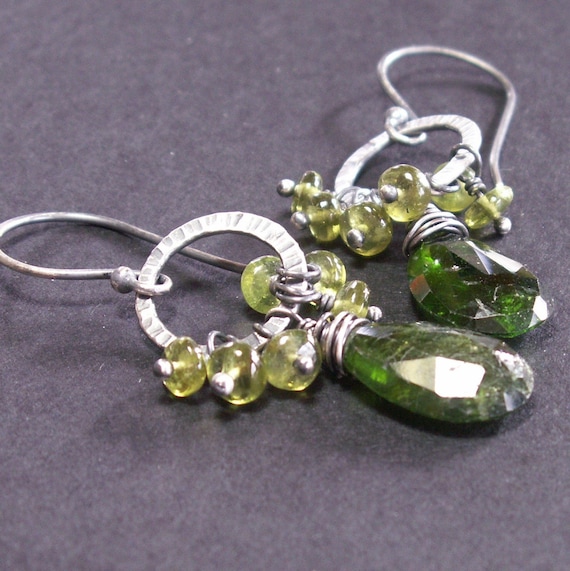
No, I'm not talking about my eco-friendly lifestyle.  I'm talking about a brand new pair of earrings.  These chrome diopside briolettes really spoke to me when I found them in Tucson.  I suspended them from fine silver circles I fused from wire and added a bunch of vesuvianite (often mistakenly called vessonite, which is not the name of any stone) rondelles.


These earrings have lots of movement and the two different greens really work well together.  You can find them for sale in my etsy shop.  Click on the photo to go directly to the listing.

Saturday, March 19, 2011

New Blue Earrings

I recently listed two pairs of earrings with some of the new stones I purchased in Tucson.  Before Tucson, I felt that my inventory was severely lacking in blue gems.  I remedied that by finding some kyanite, iolite and lapis.


Now I feel better about my Blues situation!

Tuesday, March 8, 2011

Three New Pairs of Earrings

I've been very busy rebuilding my jewelry inventory, working with Jet and getting the house back in some semblance of order after months of ignoring it.  You'd think I would learn not to let things go for so long, but I never do.  My blogging has been moved to the back burner and will probably remain there.

For the first time in my life, I've been summoned for the Grand Jury.  I'm actually quite excited about it and hope I get selected.  This probably sounds crazy to you, but I think I'll find it very interesting.  I have to report later this month and will find out at that time if I will serve.

In the mean time, here are three new pairs of earrings I've listed in my etsy shop.


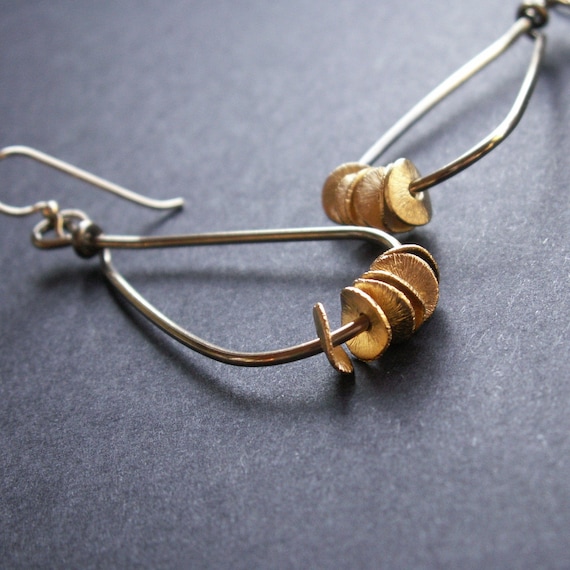
I purchased a ton (not a literal ton, but a lot) of those wavy discs in both sterling silver and gold vermeil.  I love the way they look together, as in the last pair of earrings.  I'm working out a bunch of designs using them.

Click on any of the above photos to go directly to the listings.

Friday, February 25, 2011

Some New Earrings

Even with the new puppy taking so much of my time (not complaining, just explaining), I was able to complete some new earrings and even made some time to photograph them and list them in my etsy shop.


Click on any of the photos to go directly to the listings.  Thanks for looking!

Saturday, January 15, 2011

New Necklace : White on White

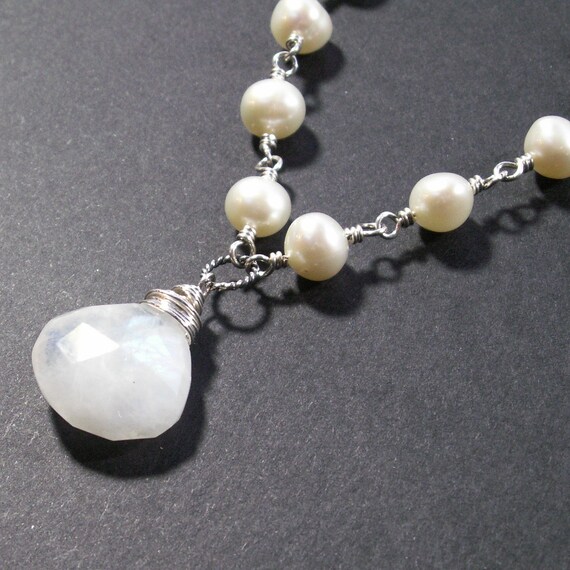
I suppose being surrounded by the white stuff inspired me to make a very white necklace.  The focal point is a beautiful moonstone briolette.  Part of the chain consists of white freshwater pearls securely wired together.  The remainder is oval rolo style chain (my favorite, but generally more expensive that regular cable link chain).  Click on the photo to go directly to the listing.


Ever since I've started using the "auto" feature on my too-complicated-for-me digital camera, my results have improved dramatically.  Imagine that.  I decided that I didn't have anything to prove, so I calmly switched to auto and I felt an immediate sense of relief.  Apparently, my camera is smarter than I am.  And I'm ok with that.

Tuesday, December 21, 2010

Earrings with Vintage Components

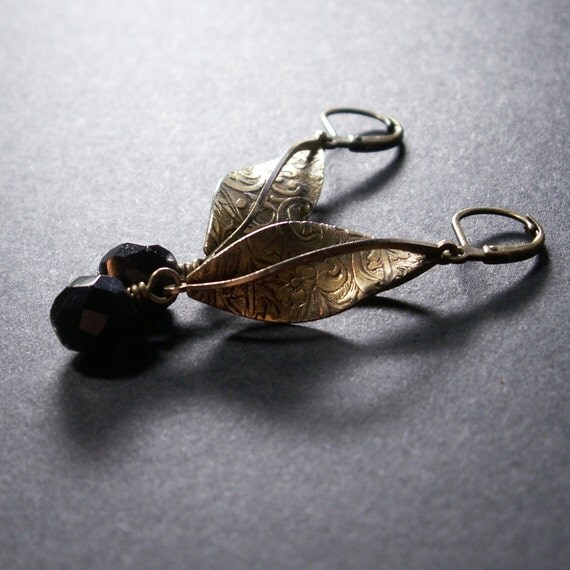
This is almost the last of these vintage brass twists.  At one time, they were part of an antique necklace that I purchased at one of those antique malls we so often visit on our trips Outside.

(for those of you that don't live in Alaska, the term Outside refers to the lower 48).  

I had lots of them, but sold all of the earrings I made with them.  This pair, and maybe one other, are all I have left.  They are incredibly interesting elements -- embossed, twisted and framed.


From the bottom, where there is a convenient loop, I added dangles of black vintage glass beads.  It just seemed right to use vintage beads with these vintage twists.  Click the photo to go directly to the listing.

Monday, December 20, 2010

New Iolite Earrings

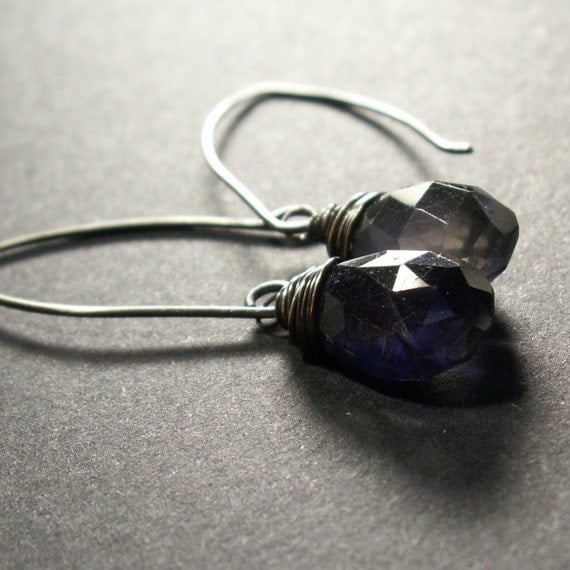
I've had these iolite briolettes for a couple of years, but had a hard time making pairs of them. On the strand, they all looked the same, but in reality, there are variations in size, color, shape and drill. I know this is an old refrain, but it's a consistent problem (?) in the world of beading.


Even these two stones aren't an exact match.  There is a slight color variation and the sizes aren't identical either.  Such is the beauty of handmade jewelry!

If you must have these earrings, click on the photo to go directly to the listing.

Tuesday, December 7, 2010

New Emerald & Tourmaline Earrings

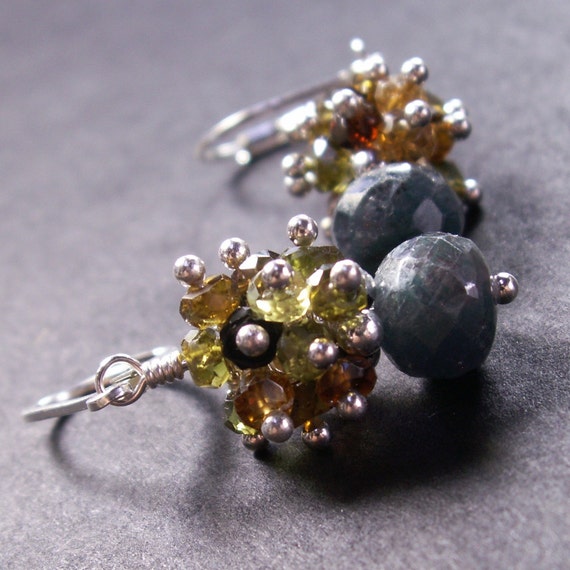
I've had this graduated strand of chubby emerald rondelles since Tucson (last February) and finally started using them.  Does anyone else do that?  Save up your most special beads for several months before actually cutting  the strand?  And have I mentioned that I really, really dislike graduated strands of gemstones?  I use most of my gems for earrings, and matching up beads from graduated strands can be ridiculously time consuming.  But I digress.

I made a pair of these right before the Bad Girls of the North craft show in Fairbanks in September.  They sold pretty quickly, so I made another for the Anchorage show.  But they did not sell, so I listed them in my etsy shop.


I topped the emeralds with a tight cluster of earthy, multi- colored tiny tourmaline rondelles.  The combination is rich and warm.  If you feel you must have these, simply click on the photo to go directly to the listing.