I was going to do a tutorial on how to wrap briolettes. But first, I decided to see what was already out there on the web on that very subject. I watched over 10 YouTube videos on the subject and learned a lot. Not about how to wrap a briolette, but that everyone has their preferred method.
Seems like all the approaches have slight variations, but the end results look decidedly similar. Interesting, I thought. By the way, my step-by-step process was unlike any of the videos I watched. As a matter of fact, I've decided that mine was by far the simplest approach. I guess some people just like to make things more complicated than they need to be!
So, instead of doing a procedural post --
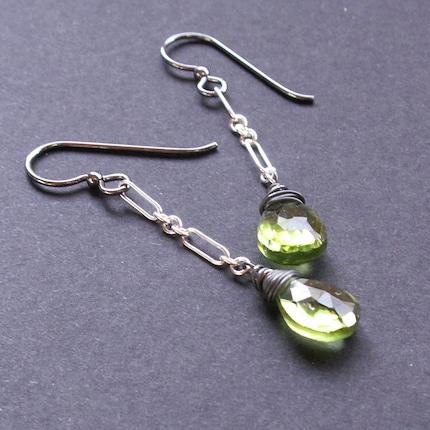
I mean, you can search YouTube just as well as I can -- I thought I would focus on the different looks that can be achieved with the same basic process.
The simple, no muss, no fuss wrap:
While this may seem a little boring, it does have its purpose in certain designs. For example, the wrap is not bulky and can easily be covered with a large hole silver bead. That's the primary use I have for this type of wrap.
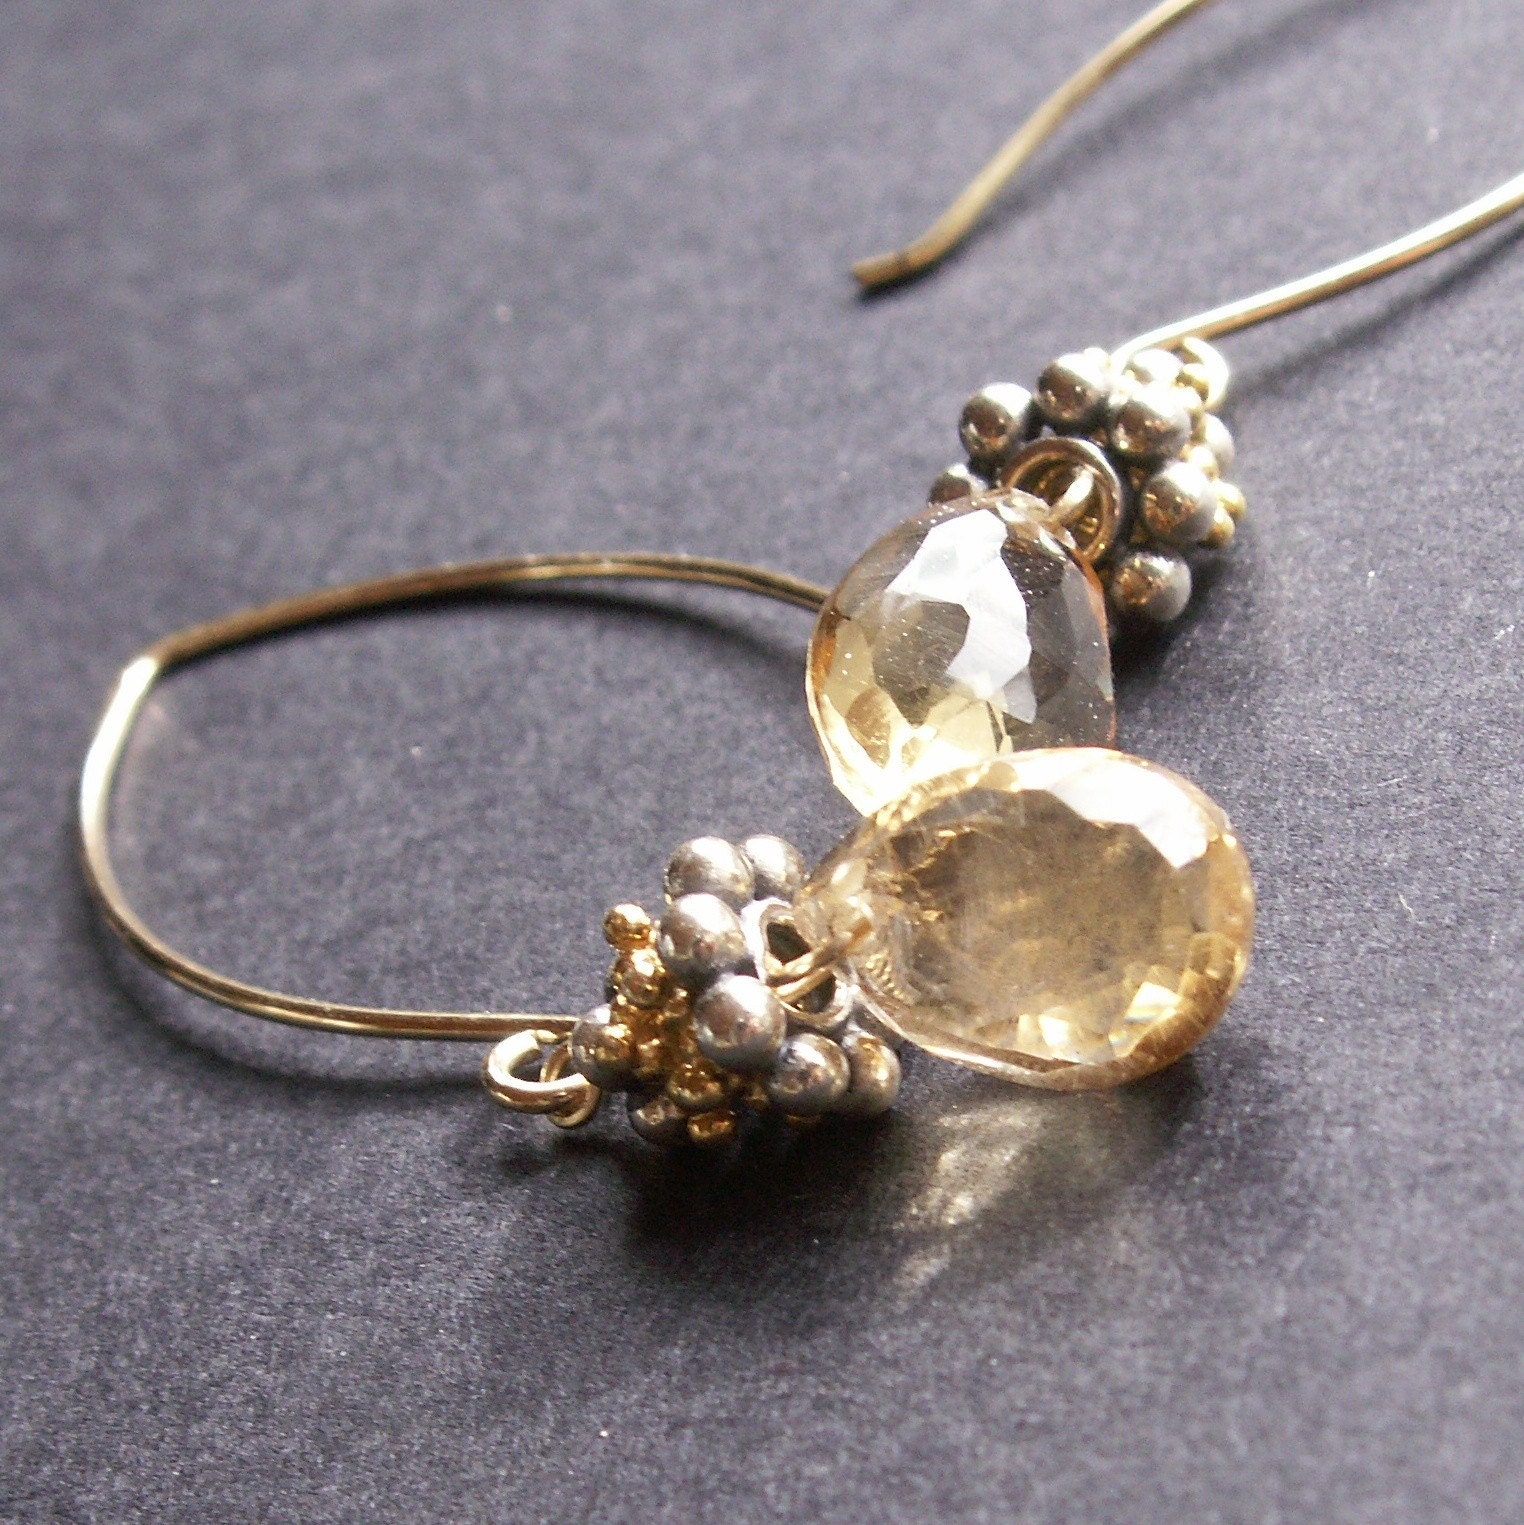
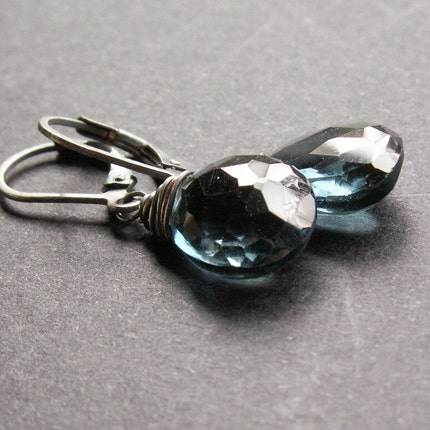
The super-neat-how-did-she-do-that wrap:
I find this wrap to be difficult to accomplish successfully, especially on a steep-sided briolette as shown here. The wire wants to slide upwards and over itself (jumping ahead to the next wrap here). Practice helps, but each briolette will pose its own challenges.
The
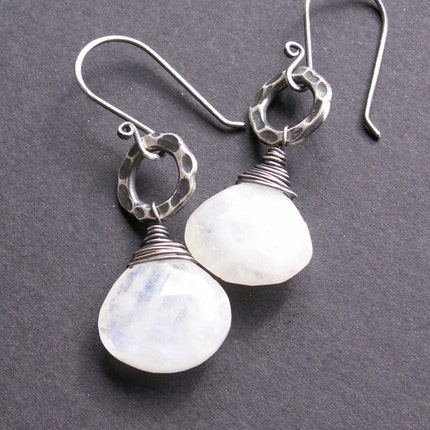
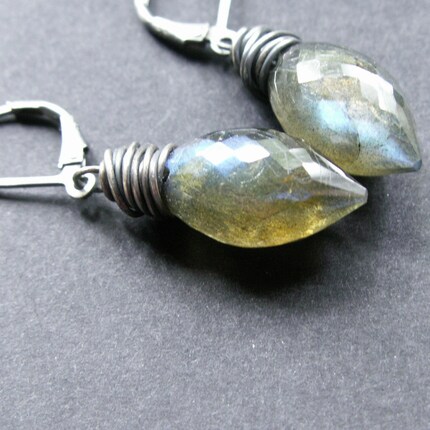
messy artful wrap:
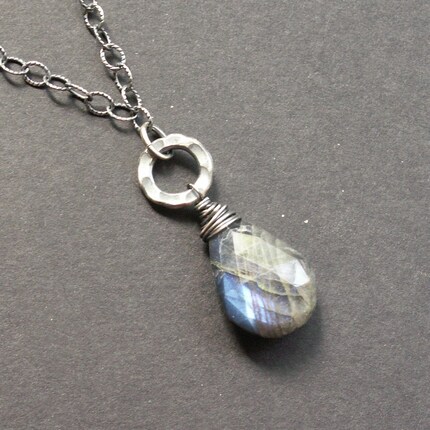
For this style wrap, the wire is first wrapped downwards until the hole is covered and then upwards, back toward the loop. This one poses some challenges as well, especially with steep sided briolettes. The labradorite brios in this photo were fairly easy to wrap.
Now to the heartbreak part. There are no words to console a bead artist when she has broken gorgeous briolettes. To minimize this, never force too heavy a gauge of wire through the hole (
I didn't, I swear). Also, use dead soft wire as opposed to half hard.
Say a silent prayer for the above fluorite and apatite briolettes. Amen.