Rick and I have been doing a little yard sale-ing over the past few weekends. It's an activity we both enjoy. We don't purchase much, but we always love to look at other peoples' junk.
When I first saw this fireplace screen, I walked right by it. Doubling back, I took a second look. It was heavy. It was brass. It was very cool. I bought it. No, we do not have a fireplace.
I envisioned it disassembled. Wouldn't those peacock feather looking parts make great wings for a mixed-media piece? Now that I have it at home, I'm not sure I can bring myself to deconstruct this beauty. It folds up so nicely and neatly. Hardly takes any space at all.
Tuesday, June 30, 2009
Monday, June 29, 2009
Pink on Pink on Pink
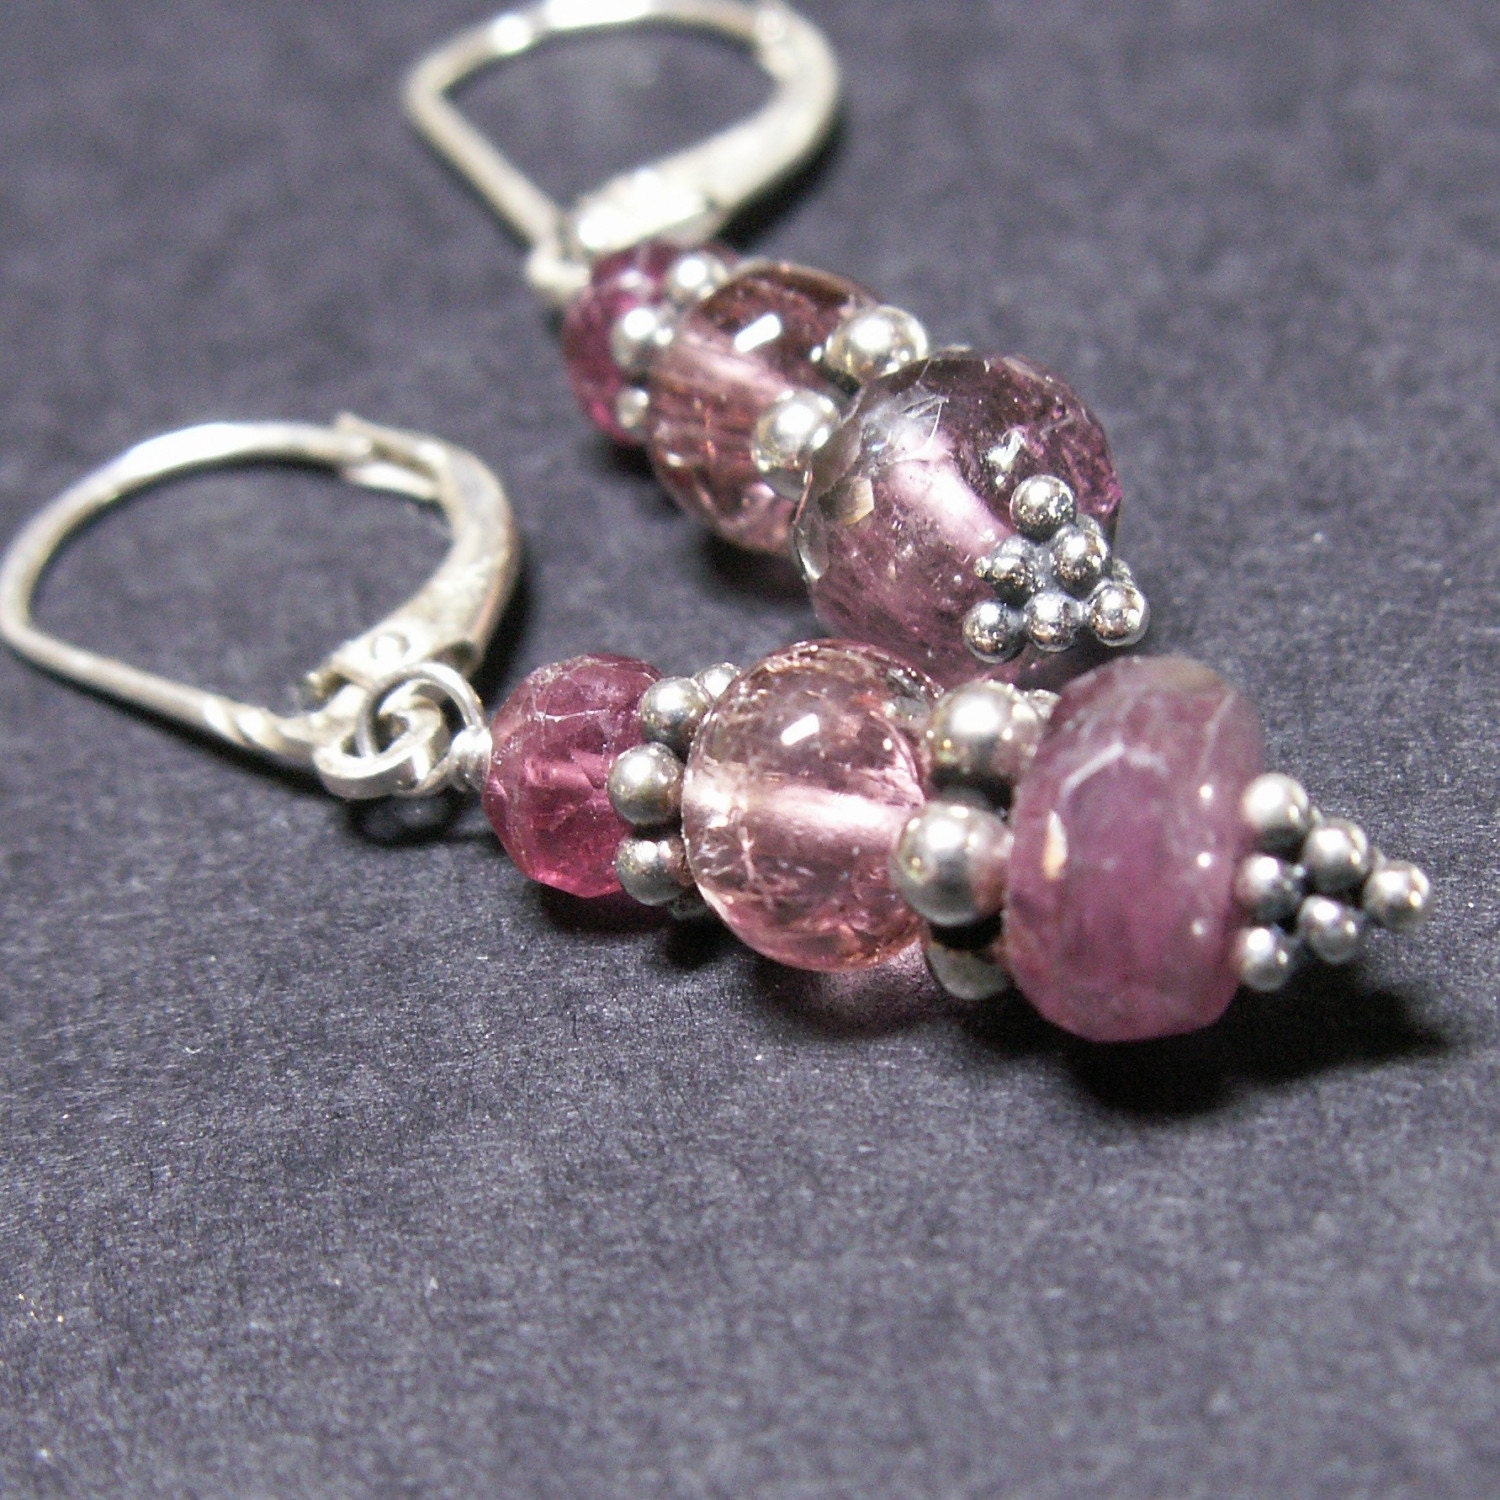
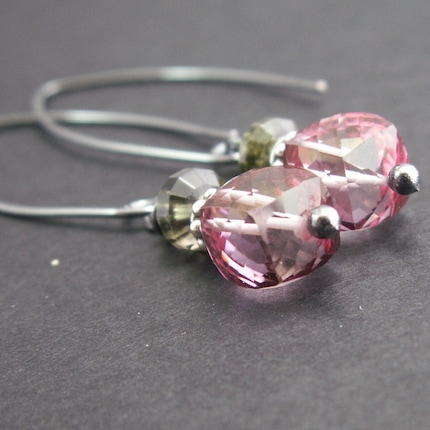
For these earrings, I used three distinctly different pink tourmaline beads. I stacked them in size order on decorative headpins. In between the beads, I added sterling silver spacer beads for continuity.
I use leverback earring findings when I think they complement the look better than hook-style earwires. To me, these earrings said "leverback".
For pink lovers, these earrings are for sale in my etsy shop.
Saturday, June 27, 2009
Tool Magic!
Tool Magic is a product that I've been using for years, but it's not a very glamorous element in the world of jewelry design. According to the label, it's a "heavy duty flexible rubber coating".
Adding this coating to the jaws of your pliers will prevent those nasty tool marks that can be so difficult to avoid and impossible to remove. I use it on only one tool: my bent nose pliers. When applied correctly, Tool Magic gives a thin coating, which only slightly affects my ability to do very fine wire work.
Stir it thoroughly. For this task, I use a wooden skewer. The blue rubber will build up after many uses. You'll know when it's time to get a new skewer.
Slowly dip your partially opened pliers into the jar. Slowly remove them and allow the excess to drip off. There won't be much excess.
Allow the pliers to dry for 2-3 hours.
Seal the jar tightly, making sure that there is no blue stuff stuck in the threads of the lid or the jar. This will make removing the lid a very difficult task indeed. You can guess how I know that.
Store the jar upside down. This will help prevent any air from entering the jar. Exposure to air will render this stuff useless. It becomes thick and hard to apply in the desired thin layer. It can still be used when it begins to thicken, however. When this happens, I use the skewer and a piece of cardstock to spread it on the pliers instead of using the dip method. At some point, it will become so thick as to be impossible to apply in any manner. That's when I throw it away and purchase a new jar. This can take up to 2 years.
This product is useful indeed. I always have a jar on hand and I know I can always purchase a new one at one of my local bead stores, Alaska Bead Company.
Friday, June 26, 2009
Brass on Bronze . Earrings
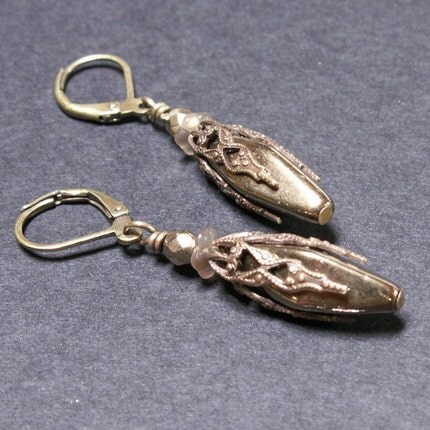
The color of antiqued brass is warm and earthy. The filigree I used to cover these bronze finish glass beads is just that. The tone-on-tone look is somehow very appealing to me.
The filigree was originally a teardrop shaped bead. I carefully opened it up and spread the 4 segments apart so that I could use it in this way. Clever, huh?
The brass leverback ear findings also have an antique finish. This style of earring better sell for me - I bought a gross of those earwires! I tend to buy everything in bulk to get a better price. It usually pays off.
These earrings are for sale in my etsy shop, or click on the photo to go directly to the listing.
Thursday, June 25, 2009
Unconventional Hanging Basket
We made our last visit to the nursery for this season, looking for some flowers for a hanging basket by the front door. We both love fuchsias, but wanted to add something to the center of the pot for height interest. When I selected a beautiful pink geranium, the owner of the nursery looked at me I was the biggest moron he had ever met and said, "I wouldn't mix geraniums and fuchsias".
Rick thought the guy was saying that they were incompatible and might start World War III. I understood him to mean that these two flowers wanted different growing conditions. So what, I thought. I liked the way they looked together and bought them anyway. Rick was pleased that I was willing to "live on the edge" with my flower planting decisions.
Anyway, the basket looks beautiful. Rick is waiting for WW III to start. I'm waiting for it to get a little fuller so I can get a great picture to bring to the guy at the nursery. Pffft.
Here's a close up of one of the hanging blossoms that make fuchsias so special.
Wednesday, June 24, 2009
My Favorite Etsy Purchases ...
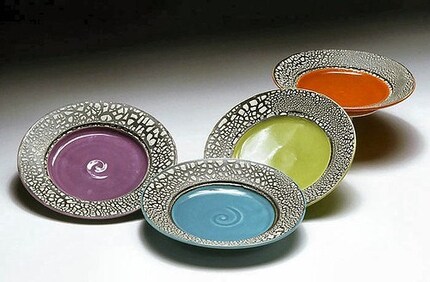
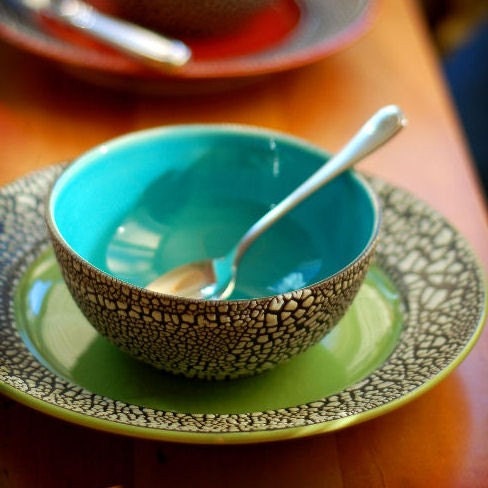
... have all come from the same seller: misslo. Lois Aronow is a potter who lives in Brooklyn and makes amazing plates, bowls and cups. I do have a slight obsession with nice pottery, and Lois' work rounds out my collection very nicely.
First, I purchased this set of plates:
Then, I had to have the bowls. This photo only shows one bowl, but my purchase was for 4 bowl in the same colors as the plates.
Then I bought another set of plates for a friend. Now I've got my eye on these mugs:
I hope my cupboards don't collapse from the weight of my pottery collection.
Tuesday, June 23, 2009
Textured Silver and a Pearl
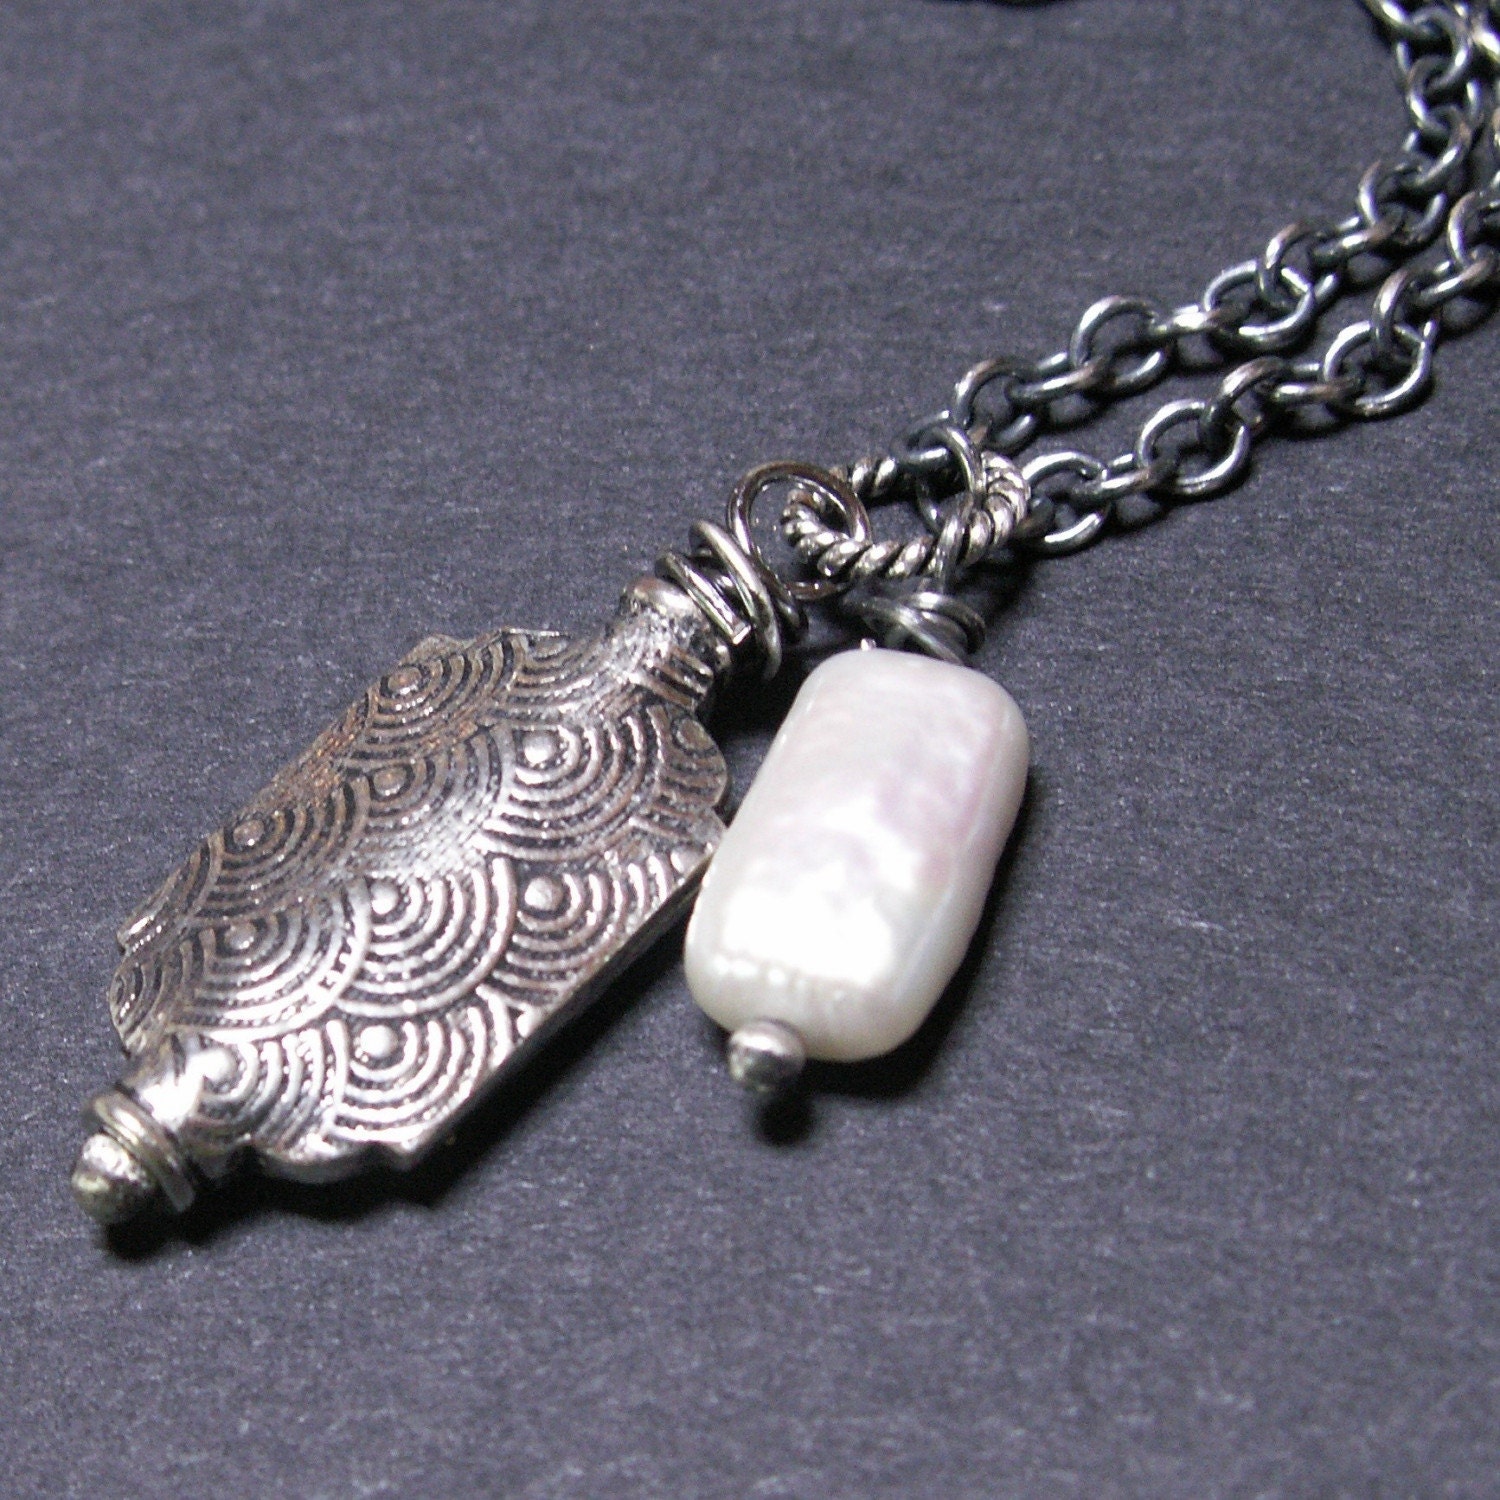
This simple necklace is one that I would wear as often as I could. If I was into naming my pieces, this would be called the "Vicki Necklace". This elongated silver bead is embossed with a pattern of overlapping fans. Next to it I added a rectangular white pearl. Together they hang from an oxidized sterling silver chain. That's it. That's usually enough for me.
This go-with-everything necklace is for sale in my etsy shop. Clicking on the photo will take you directly to the listing.
Monday, June 22, 2009
Wild Roses
I've talked about our 2 1/2 acre property before, haven't I? Today, I'm focusing on one of the more delightful aspects of our yard. It is full of wild roses.
Because they're wild and not cultivated, these roses don't last long. When they first bloom, they are a bold, vibrant pink. They quickly fade to a pale pink and then fall to the ground. I think this generally takes about 2-3 weeks and then it's all over until next June. I certainly enjoy them while they're here though.
Have I mentioned that Rick loves big metal objects? Carol gave him this paddle from an industrial sized commercial mixer. I happen to think this particular piece of metal is pretty cool too. It makes a nice yard ornament, doesn't it?
Saturday, June 20, 2009
Ancient Ivory
For the past 12 years, I have sold many pieces of jewelry containing ivory. The ivory I use comes from a reputable source who manufactures beads from fossilized mammoth ivory. It is not raw ivory harvested from living creatures, resulting in the death of the creatures. Mammoth are an extinct species, and are not protected by US Wildlife Law. See this link for more information.
Much of the ivory jewelry I sell is represented on my website, Orion Designs, and not in my etsy shop. It has a wide appeal to Alaskans and visitors to the state who are looking for a "piece of Alaska" to take home with them. The jewelry is very wearable, mainly because of the neutral color of the ivory beads.
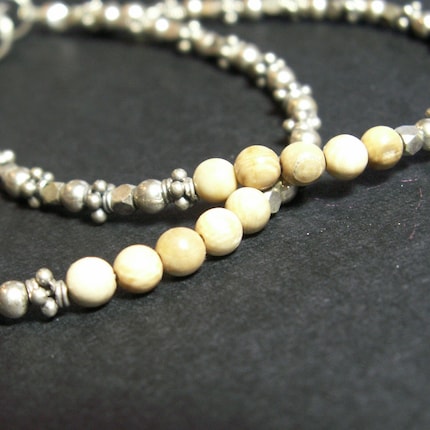
This bracelet is the only ivory piece I have currently listed in my etsy shop. It is classic in styling, yet quite modern. By combining the ivory with Bali sterling silver beads, the past and the present meet in this very wearable bracelet.
Thursday, June 18, 2009
Three Beautiful Stones
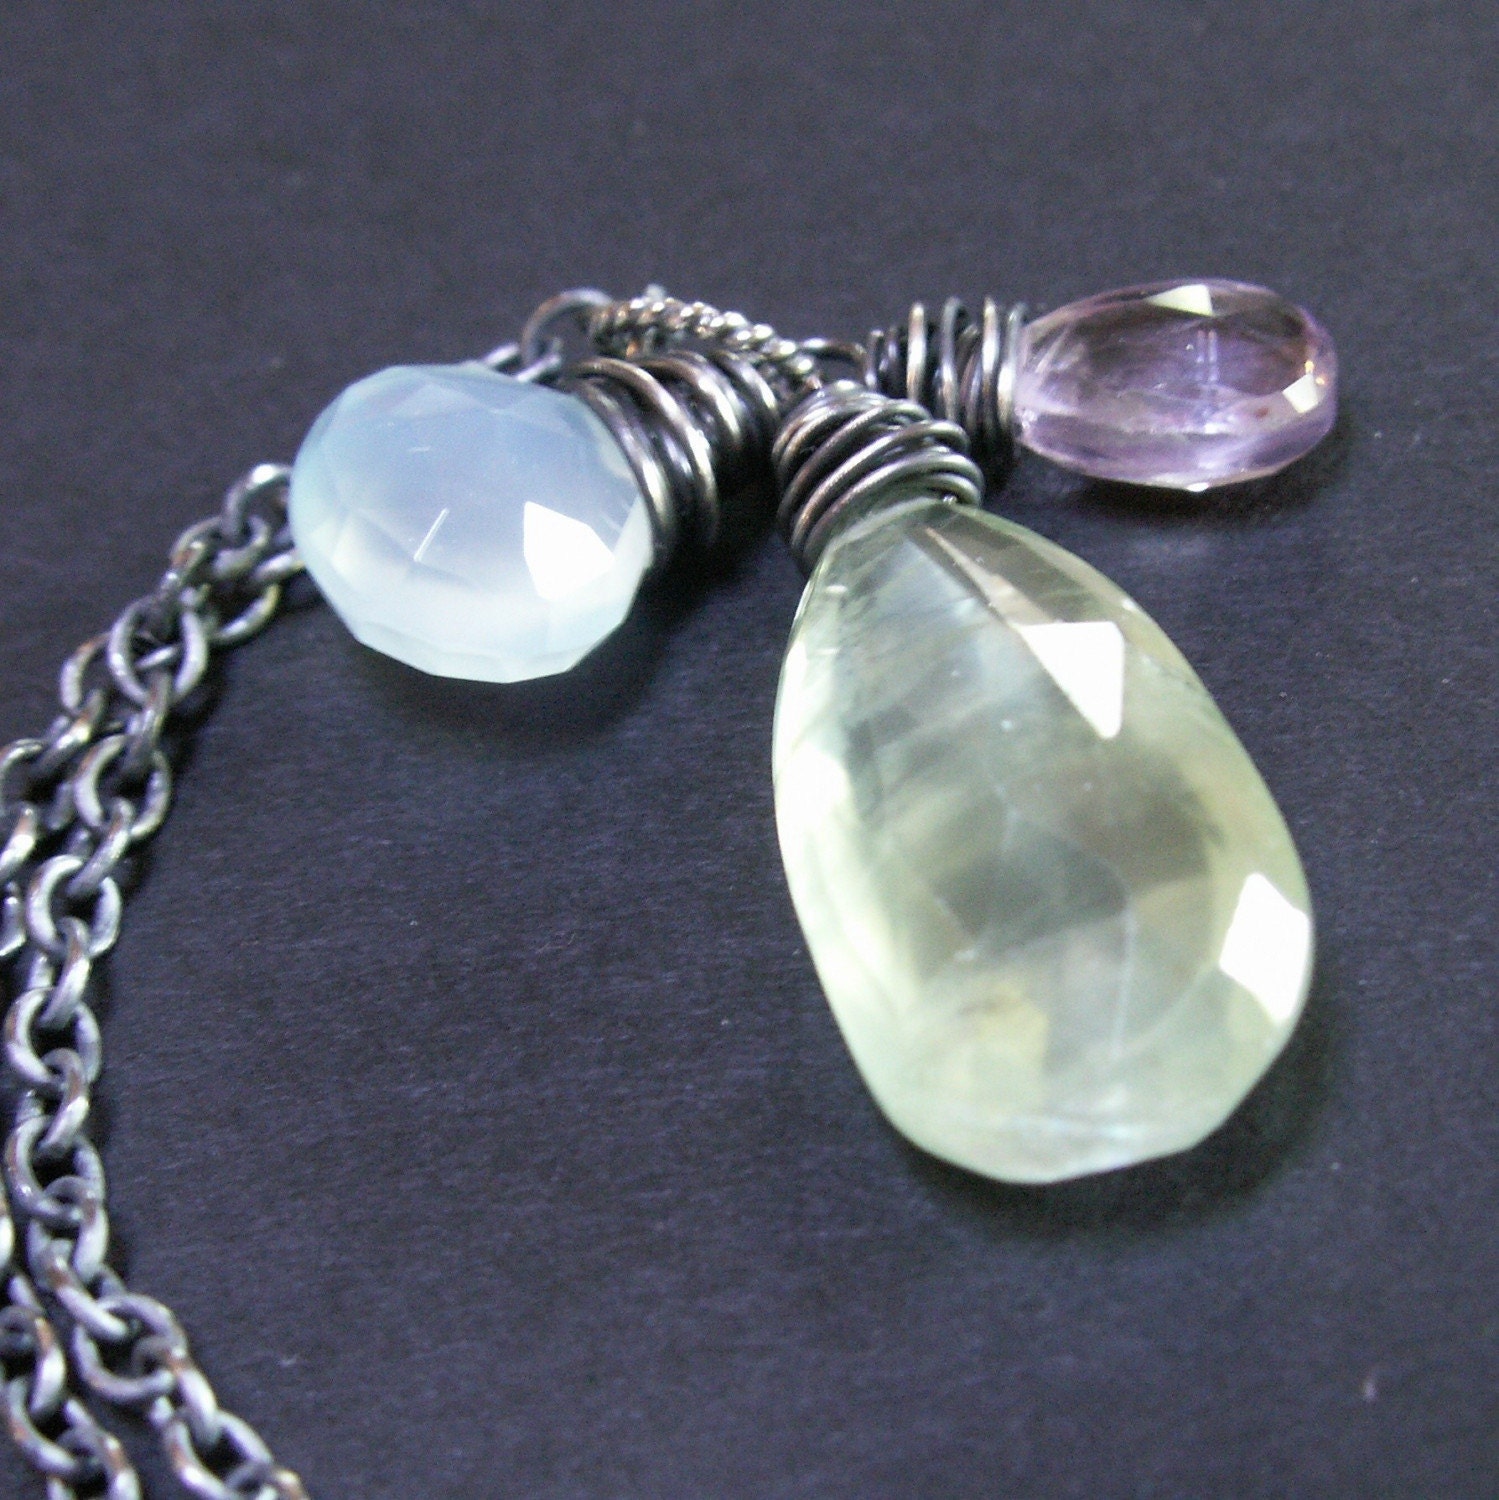
These softly colored stones look so lovely together. The largest stone is pale green prehnite, and it looks as though it is lightly frosted. On the left is a plump briolette of aqua chalcedony. On the right is a small pink amethyst, which is really closer to a lilac color.
Half the fun of making necklaces such as this one, is deciding which stones look best together. I place them in one palm, sometimes rejecting one that look out of place, sometimes adding a third (as the pink amethyst was in this case). I've been known to spend an hour just making up several stone combinations before actually wrapping any wire and constructing any necklaces.
This sweet necklace is for sale in my etsy shop.
Wednesday, June 17, 2009
Looks Like a Full Moon
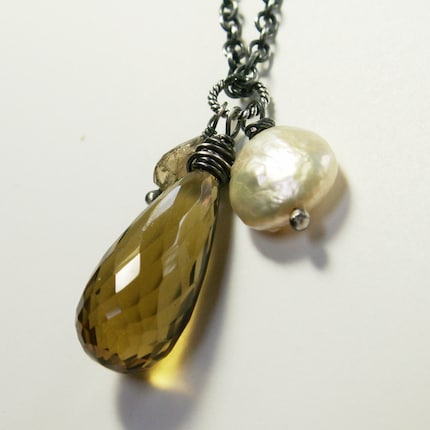
This creamy colored coin pearl remind me of a full moon. I teamed it with a large faceted briolette of whiskey quartz and small briolette of golden tourmaline.
The combination is warm and appealing. The neutral colors make this necklace so easy to wear. The sterling silver chain is 17" long.
Now is a good time to mention that I purchase most chain styles that you see in my etsy shop in bulk. This means that if you need a different length than offered in a particular listing, I can do it! Just be sure to mention it when making a purchase.
I have a special going on right now in my etsy shop -- but you need to be a newsletter subscriber to be eligible. Sign up using the form on the right and I'll send you my latest newsletter.
Tuesday, June 16, 2009
Last Minute Dinner Guests!
Sunday afternoon, some friends called to invite us out for dinner. Well, neither one of us was in the mood for a drive into Anchorage, so we invited them to dinner at our house instead. Luckily, I had made a big bowl of coleslaw earlier in the day and there was a huge batch of chicken defrosting. The beginnings of a perfect meal! I roasted some cut-up potatoes, Rick grilled the chicken and I made a salad. Dinner was complete.
Here's one of my favorite coleslaw recipes. It was given to me by an old friend from Binghamton, New York that I have lost contact with. These things happen.
Linda Rosenberg's Coleslaw
1 small to medium head of cabbage
1 onion
1 pepper (green or red)
2 carrots
3/4 cup sugar
1 tsp dry mustard
1 TBSP salt
1 cup white vinegar
3/4 cup oil
Grate or shred (I use my Cuisinart) the cabbage, onion, pepper and carrots into a large bowl. Sprinkle with the sugar.
Put the remaining ingredients in a small saucepan. Bring it to a boil and pour it over the shredded vegetables. Stir well. Cover and let sit in the refrigerator for several hours before serving.
Sunday, June 14, 2009
And Another Earwire Tutorial!
Today I'm sharing a new earwire tutorial. I had seen this style earwire in various catalogs, but wanted to try and make my own.
Cut 2 pieces of wire, each about 3" long. I like to use 20 ga half hard for all of my earwires. Make sure your ends are flush cut.
Let's start with a very basic tip. Use a fine point Sharpie to mark a spot on your round nose pliers. This will guarantee that you make the same size loop every time. Make a mark about halfway up. You may have to experiment with the placement of this mark on your pliers, as each brand will be a little different.
Place the wire on the Sharpie mark and make a small loop. This is where the "dangle" will be added when you're done. Repeat with second piece of wire.
Find an item that you can wrap this wire around. I've been using a small glass canister that measures 1 1/8" in diameter. Be creative and look in the kitchen too. Some utensil handles might be just the right size. Gently bend the wire around the cylinder with your fingers. It will spring back slightly, especially if you're using half hard wire, like I do.
Draw a "template" on a piece of paper in this exact shape. In this next photo, you can see that I have 2 different templates on one piece of cardstock. I sometimes make a smaller version of these earrings. Make a vertical mark in the center.
Place the wire on the template. Grab the wire with chain nose pliers at the vertical mark.
Lift the wire and bend it at this point to form an almond shape.
Hammer the leading edge and the bend area with a chasing hammer. This will harden the wire and provide the appropriate springiness.
Repeat all steps with the 2nd piece of wire and trim them to the same length. File the ends as you would with any earwire. You can tumble them now for shine and a bit more hardness. This will also help smooth the ends a little more.
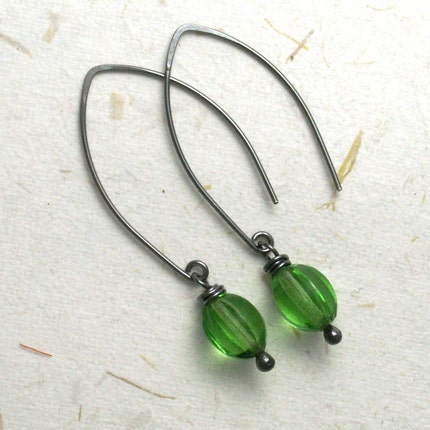
Here is a pair of earrings that I oxidized and completed with vintage glass beads:
Saturday, June 13, 2009
Pink and Green
The color combination of pink and green seems timeless. When I see a garment with this colorway, the pink is usually bright and the green is of the lime variety. For this pair of earrings, I went in a slightly different direction.
The pink quartz cubes are fully faceted and yes, they are a bright, bold pink. Above them, the flying-saucer (my description, not a real gemologist's term) shaped green tourmaline is a deep dark green. For those of you that grew up with a box of crayola crayons as your main color reference, these tourmaline beads are pretty close to Forest Green.
I have suspended them on my hand made sterling silver earwires, which I oxidized and tumbled for a shiny, steel gray finish.
Friday, June 12, 2009
Large Citrine Briolettes
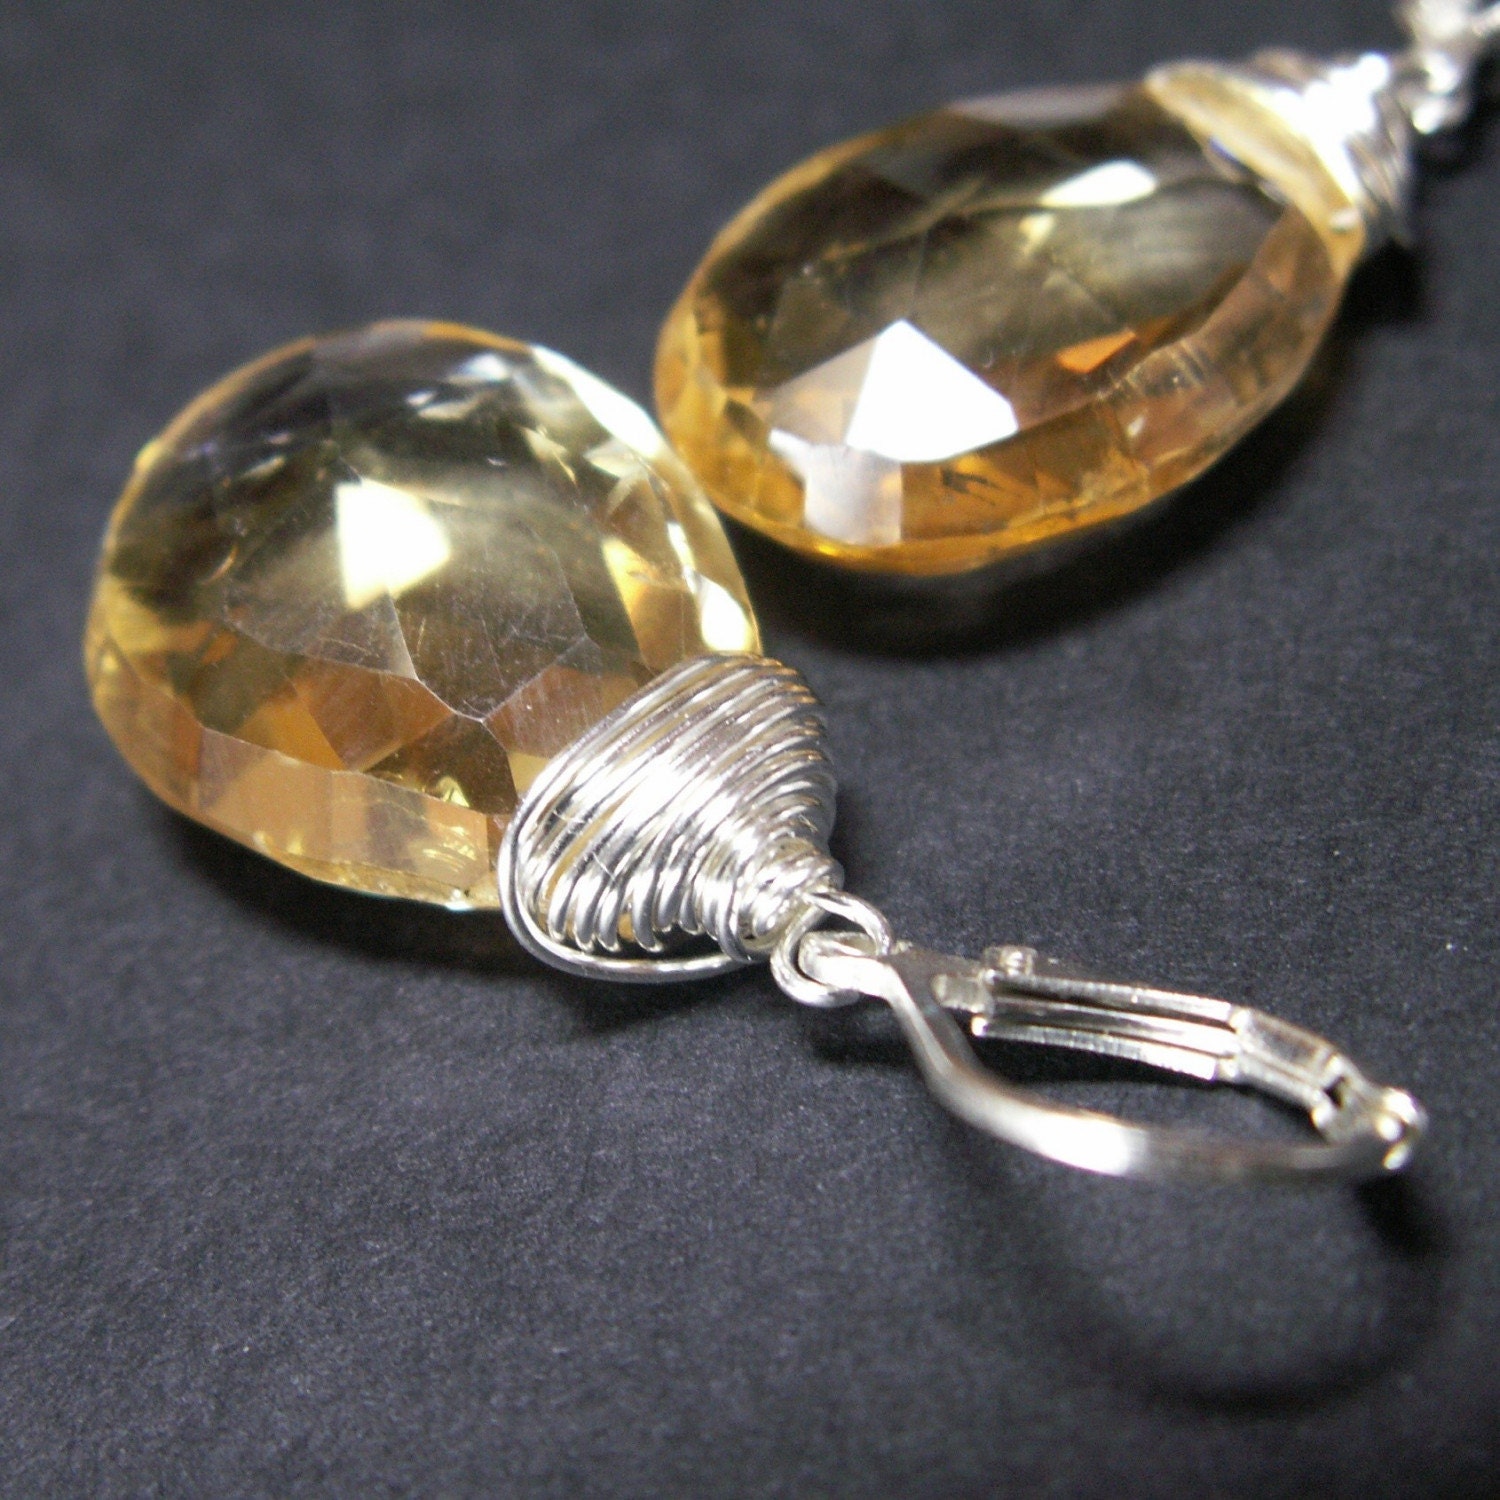
These beauties are huge! They are a nice medium yellow color and not nearly as heavy as you might think. I wrapped them with sterling silver wire and suspended them -- all by themselves -- from lever back earwires. Click on the photo to go directly to the listing in my etsy shop.
You may have noticed that many of my newest earrings are simpler than ever. The beauty of the beads so often speak for themselves, that I've decided to let them do just that. I will still do plenty of earrings with tiny gemstone clusters and more complex designs.
On another note, I'm planning my next newsletter, so be sure to use the form on the right to sign up!
Thursday, June 11, 2009
A Slice of Turquoise
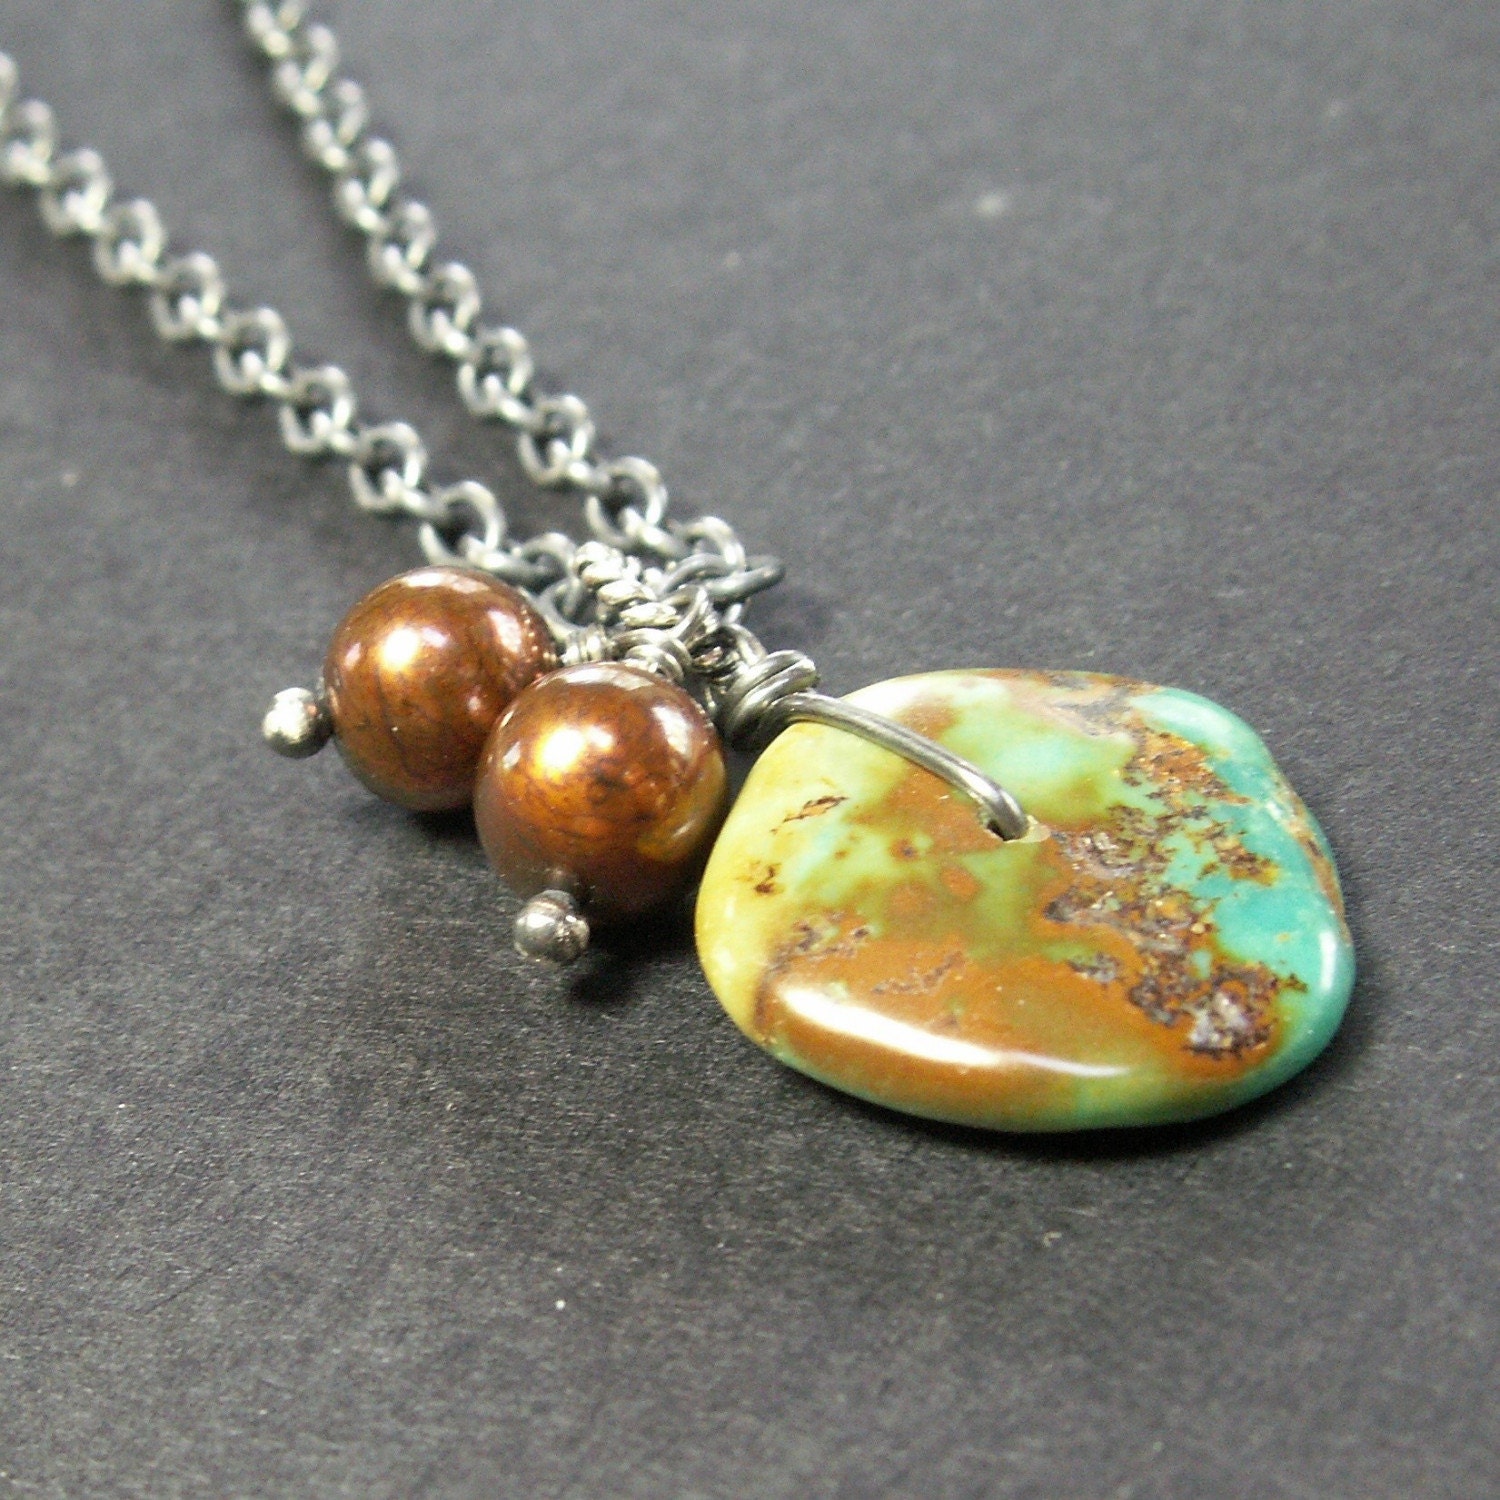
For this necklace, I started with a slice of natural turquoise with lots of coppery matrix. I wrapped it with some sterling wire and added two chocolate colored freshwater pearls. That's it!
The colors in this particular piece of turquoise range from the bluest blue to teal to pale green. It's probably not gemstone quality, but for this type of necklace, the color variations make for a much more interesting piece of jewelry.
And the chocolate pearls were just begging to be included in this necklace. I think they are the perfect complement.
Wednesday, June 10, 2009
Lemon Pie ... mmmm
I'll share with you one of the simplest and yummiest dessert recipes that I know --- Lemon Pie. One of the things that makes it so easy is that I choose to use a graham cracker crust instead of making my own. The graham cracker crust just seems like a better match for this filling.
1 cup sugar
3 TBSP cornstarch
1 cup milk
1/4 cup lemon juice
3 egg yolks, slightly beaten
1/3 cup butter
1 TBSP grated lemon peel
1 cup sour cream
Combine sugar and cornstarch in a saucepan. Stir in milk, lemon juice and egg yolks. Cook over medium hear, stirring constantly, until thick. This will take about 10 minutes, but it will feel longer!
Remove from heat. Stir in butter until melted. Add lemon peel. Cool. Fold in sour cream. Spoon into graham cracker crust. Refrigerate.
Whenever I make this pie, I also make a batch of macaroons with the 3 egg whites. How's that for efficient?
Enjoy!
Tuesday, June 9, 2009
Owyhee Blue Opal Necklace
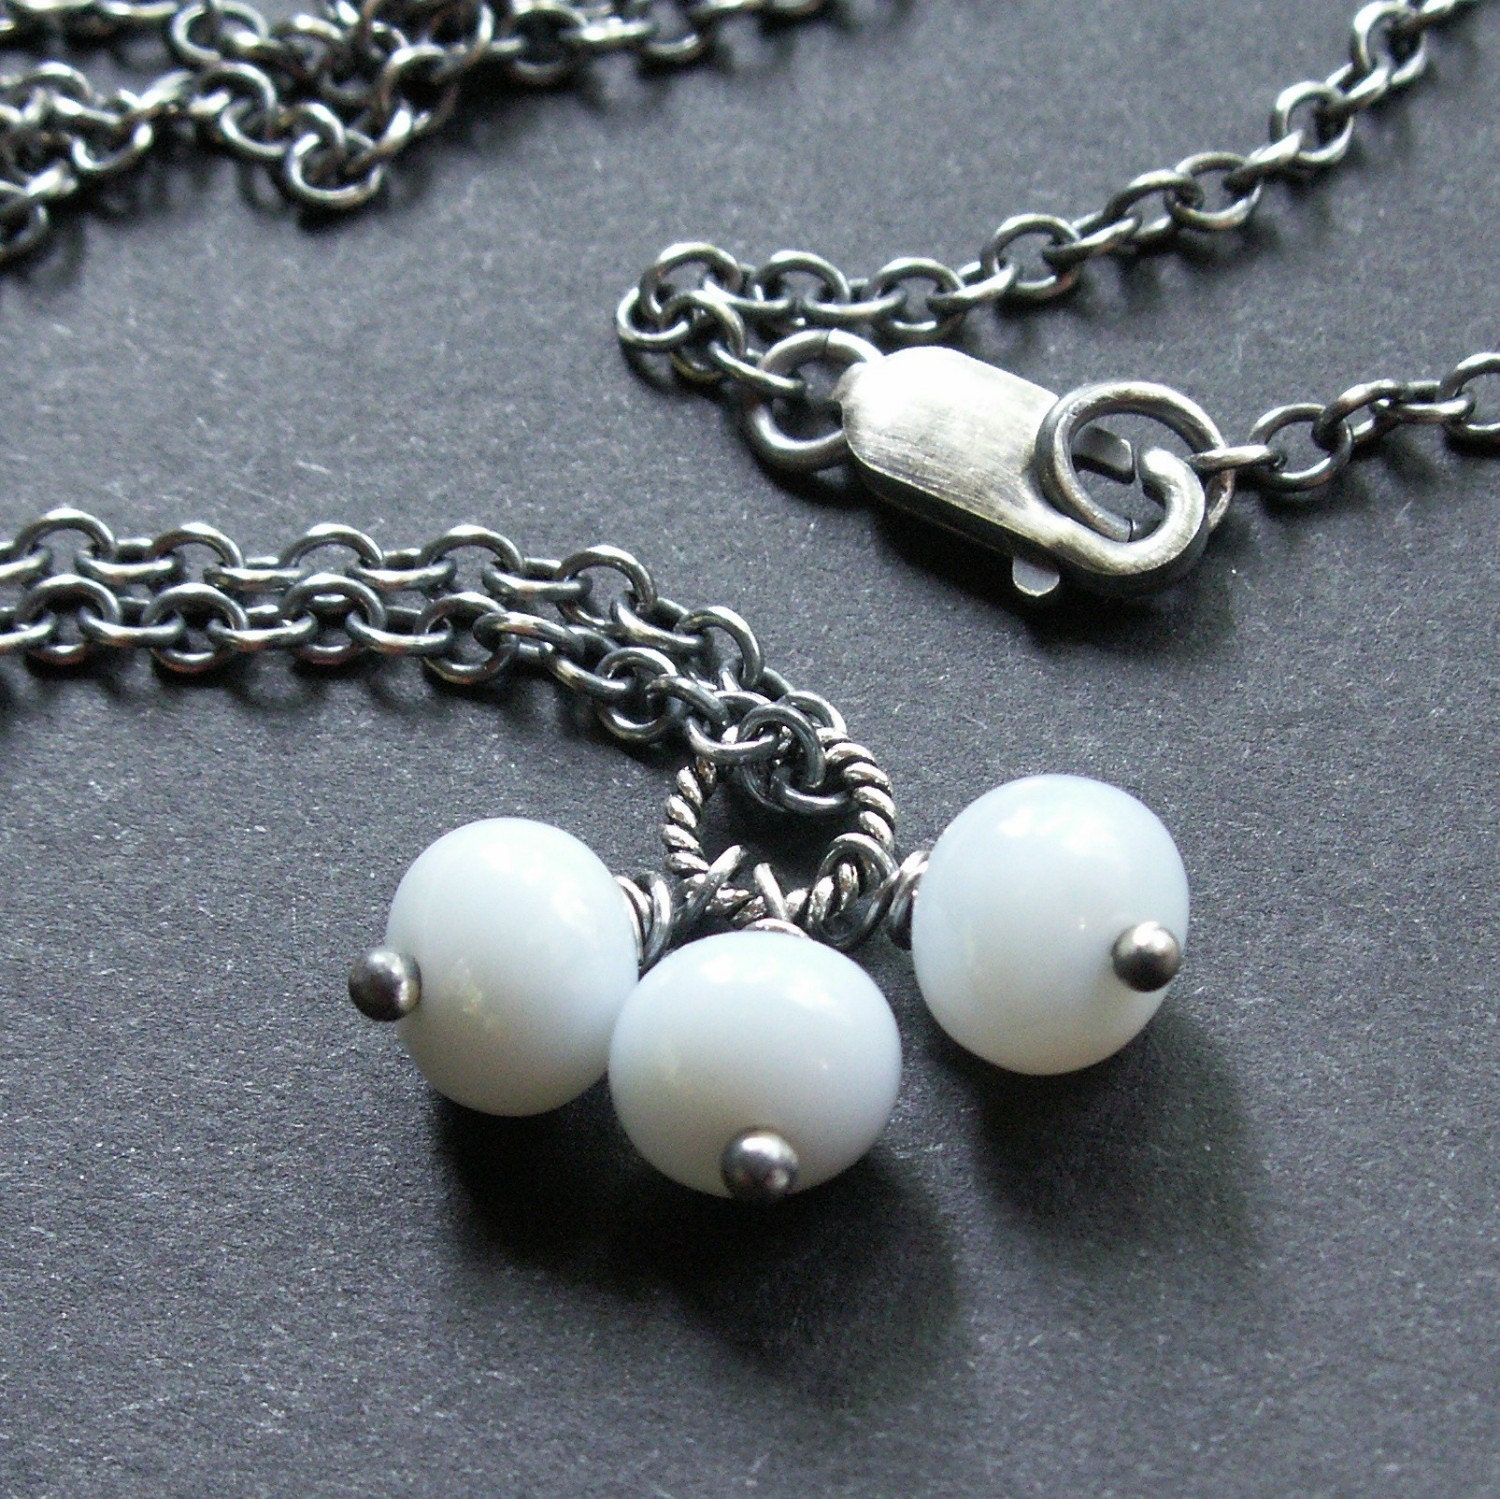
These lovely stones are found in eastern Oregon. I love their milky quality. Here, I've used three of them to create a simple necklace. They are attached to a twisted ring, which hangs from an oxidized sterling silver chain.
Blue opal is so smooth and glossy, it almost looks like glass. But it is definitely stone.
This necklace is available in my etsy shop.
Monday, June 8, 2009
First Friday
This past Friday evening Rick and I went into Anchorage for the First Friday art openings. To be quite honest, we only went to one opening. We went to Half Moon Creek Gallery specifically to see our friend Cindy Shake's newest creations in metal art.
Once again, Cindy has amazed us with her artistic sensibilities and whimsical designs. Her HUGE praying mantis was sold by the time we arrived, which was only 1/2 hour after opening! Rick got a kick out of the grasshopper and I'm entranced by the hostas and sunflowers. You can see photos of some of these items on Cindy's blog.
Of course, I still love the piece I purchased at Half Moon Creek during their grand opening 7 years ago. So much of the art in my home is sea-themed and this sculpture by Cindy fits in perfectly. It also appears to have been created just for that spot above our 2 large windows, doesn't it? It's 11' long and features fish, starfish, shells and sea glass.
(Whatever setting I had on my camera totally whited out my windows and skylight, which have no shades or curtains at all. It's actually quite green out there!)
Sunday, June 7, 2009
Yard Sale-ing
We spent a good part of Saturday going to yard sales. We don't do it that often, but when we do, we're serious about it. My friend Brenda is getting out of the "art for commerce" business and is selling many of her art & craft supplies. Her yard sale was full of beads, craft show display stuff, and paper. I have a serious weakness for paper and bought all that she had.
I ended up with 2 milk crates of rolled handmade papers. These will be used in my card making and my book projects. Where will I store it you ask? I have no idea.
As she was helping me load these lovely papers in my trunk, Brenda said she had not even sorted through her best papers yet. Damn.
Friday, June 5, 2009
Old, Old Earrings
Today I'm wearing a pair of earrings that I made during the very first year of my jewelry-making odyssey -- 1997! I was living in Scottsdale, Arizona, working at Revlon and preparing to move to Alaska with Rick. On a whim, I took a basic beading class at the local bead store. While I can't remember the name of the store, I do know that they were bought out a few years ago by Artgems, which is now completely out of business.
I managed to complete a very simple necklace and earring set at that first class. And then I proceeded to shop for beads at the store. I know, big surprise. I purchased these wavy coin shaped Italian glass beads in every color they had. To this day, I have never seen these beads anywhere else. And you know I've seen plenty of beads over the past 12 years!
The gold filled leverback earwires have been replaced once, but other than that, I still love these earrings.
Thursday, June 4, 2009
Spiral Bound Journal
I spent a few days last week making some more of my little blank books. They are great fun to do and they give me the opportunity to go through my extensive collection of decorative papers. This also provides a much needed break from the jewelry making.
After making a few books with fun papers, I found some notes I had made a while back, on clever ideas for covering these books. The best idea involved randomly gluing together monopoly money, collage style. I have several old monopoly games that I found at yard sales over the years. I knew I was buying them for a reason, I just didn't know what the reason was until I came up with this idea.
I even had enough to cover the inside plates. This one is a keeper -- it won't be for sale. But I have plenty of little books listed in my "other" etsy shop, A Peaceful Life.
Wednesday, June 3, 2009
Captured Turquoise
I completed a series of earrings a few weeks ago and listed one pair in my etsy shop. I tend to work this way -- make a bunch of one style, varying the colors and then dividing the finished product between etsy, galleries, inventory.
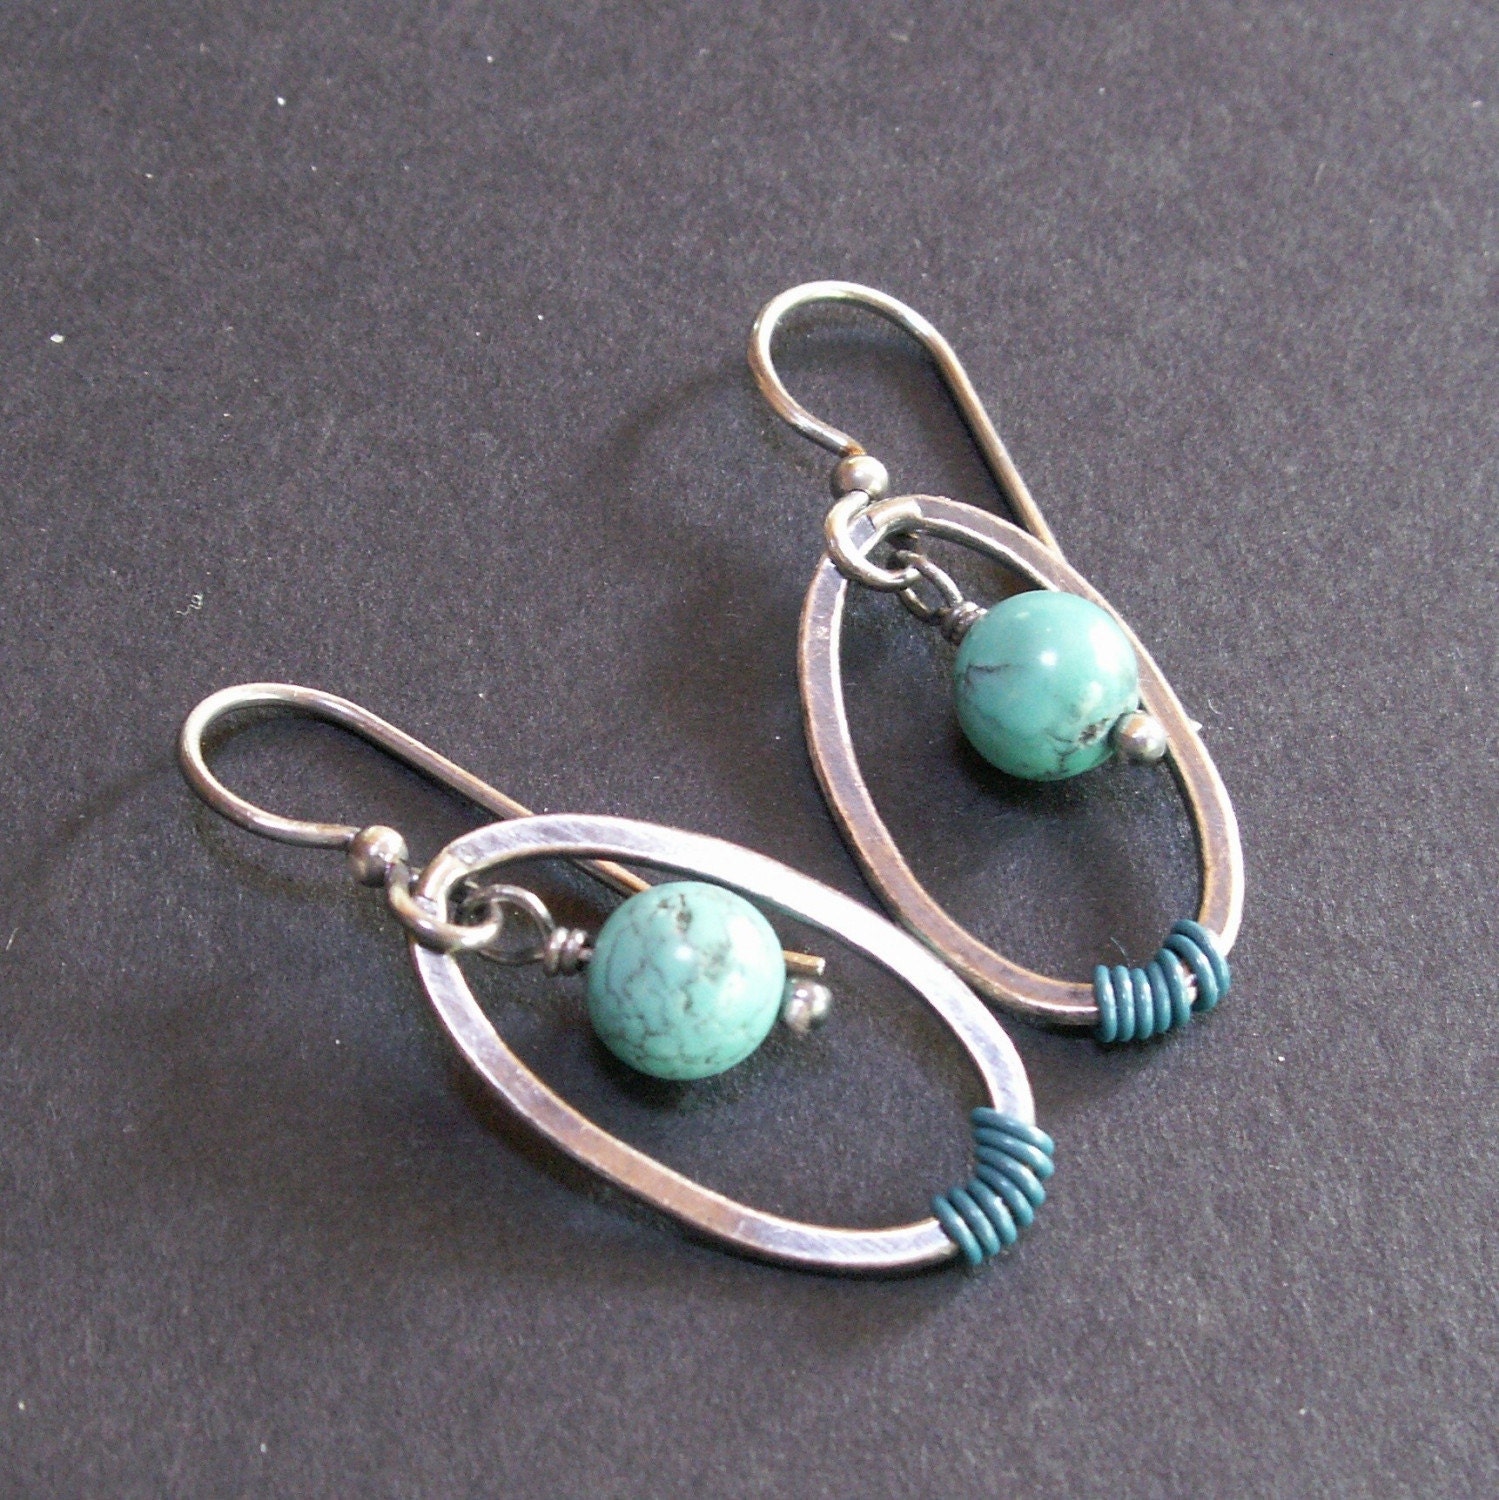
The pair I listed online features turquoise and coordinating turquoise colored craft wire. The beads are framed by a large oval sterling silver link.
For the rest of this series, I used red faceted pearls, green pearls, pink pearls, a bold yellow glass bead, and a variety of neutral colored glass beads. This color selection was dictated by the colors of craft wire that I had on hand.
Click on the photo to go directly to the listing.
Tuesday, June 2, 2009
Flowers
Yesterday I planted flowers in 7 hanging baskets that hang on the side of our house that faces the street. It's quite a shady spot and it took me a couple of years of experimenting to discover that begonias and geraniums work well in those baskets. I'll take some pictures of the baskets when the flowers get a little bigger. They're a little pathetic right now.
In addition to the hanging baskets, I planted 1 large planter of mixed flowers in shades of purple. I included pansies, petunias, and some other stuff I forgot the names of:
Monday, June 1, 2009
Dragonflies ... Again
I have these large brass dragonfly elements that I've used to wrap around stones or large beads. This necklace is an example of what I mean. I have featured it on my blog in the past.
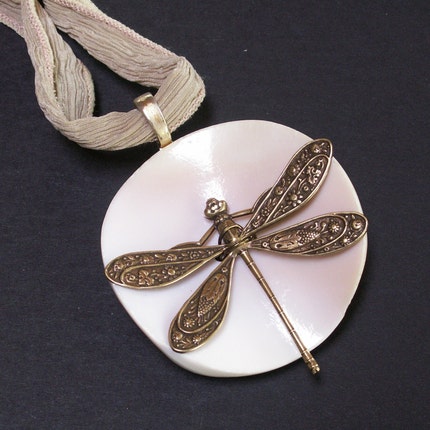
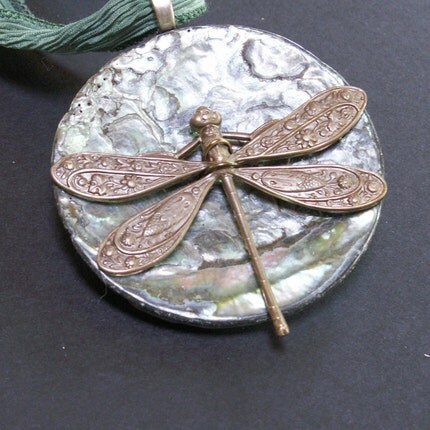
I was looking at the small pile of these dragonflies and an idea popped into my head. Don't you love when that happens? I scrounged around for my collection of really large buttons (2" in diameter) and found a beautiful abalone one and a more subtle pink one made from conch shell. With a little wire and beautiful hand-dyed silk ribbon, 2 necklaces were born! Here are the results.
The abalone one sold quickly from my etsy shop, but the conch shell necklace is still available. Click on the photo to go directly to the listing.
Subscribe to:
Posts (Atom)