Sunday, January 31, 2010

On Eggs and Baskets

I've never liked the thought of relying on just a couple of sources of income for my little jewelry business.  This means that I am forever analyzing (some would say over-analyzing) my business.  I study my sales trends, my pricing, my expenses.  You name it, I study it.  One of the statistics that I find most interesting is how my sales pie is divided between wholesale, consignment, retail shows and etsy.
  

Here's some data showing how my sales are divvied up:

                                2007            2008           2009

Retail Shows             58 %           49 %           46 % 
Consignment             25 %           25 %           25 %
Wholesale                 15 %          12 %            10 %
Etsy                           2 %           14 %            19 %

What information can I glean from this little chart?  First of all, I like the trends in general.  My retail shows are becoming a bit less critical to the success of my business, while etsy grows some in importance.  Retail shows are tons of work and as I get older, they're becoming more taxing on me.  Some day, I'd like to not do any at all.  Of course this won't happen until I'm ready to abandon the Bad Girls of the North business.  I don't anticipate this happening in the next few years!

I like the consistency of the consignment percentage over the past 3 years.  The wholesale number is a little disturbing, but completely understandable.  One of my main wholesale accounts is a gift shop in Denali Park and is driven almost 100% by the tourism trade.  Tourism in Alaska was way down in 2009 and this account did not even place an order with me last year.  I did pick up 4 new wholesale accounts, but their initial orders were small.  This too is understandable.  I was an unknown to them and 2009 was a sort of "test run" for my work.  I fully anticipate my wholesale numbers to be back around the 15% mark, or close to it, in 2010.

I'm glad I have my eggs spread around in many baskets.  One never knows when one source of income will fail to materialize in any given year.

This photo is courtesy of EggArt.

*This post was updated on 4/1/10 to correct an error in the 2009 numbers.

Friday, January 29, 2010

Tucson Shopping List

Next Tuesday night (right after the 1st episode of the last season of LOST!) I will go to the airport and fly to Tucson for the annual bead/gem/mineral shows.  This year, Rick will stay home and my friend Carol will come with me.  After 4 days in Tucson, shopping for beads, we will spend 5 days in the Phoenix/Scottsdale area.

Last year, Rick and I discovered Celebrate Art, in north Scottsdale.  Carol & I plan to spend a day at that wonderful exhibit.  We will also visit the Queen Creek Olive Mill for a tour and possibly lunch one day.  I used to live in Scottsdale, so I know there are plenty of great eateries there.  We will visit as many as is humanly possible!

Back to the subject at hand, a shopping list for the bead shows.  So far, I've noted that I absolutely need the following items:

peridot: briolettes and large rondelles
prehnite
iolite
garnets: large briolettes
smoky quartz: anything that catches my eye
tourmaline: large briolettes
cabochons for filigree wrapping

Noticeably absent from the list are pearls.  I have so many pearls, that I don't think I could use them all in my lifetime.

What else do you think I need?
 

Thursday, January 28, 2010

Finishing a Necklace with Bead Tips

Finishing a strung necklace can be done in several ways. Most basic stringing classes teach a method involving crimp beads and SoftFlex or Accuflex stringing material. Although I do like those 2 materials, I’ve never liked this method because it leaves some of the stringing material visible in the form of a loop, which is used to attach the necklace to its findings. I developed this alternative method many years ago. Although quite unconventional, I find it to be durable and it provides a more professional looking finish to handcrafted jewelry. It’s all about personal preference.


Using chain nose pliers, make a bend in your string material, leaving about a 1” tail. Insert this bend into a small crimp bead. Crimp, using 2-stage crimping pliers. This will leave the crimp bead round-ish.


String a bead tip so that the crimp is nestled inside the clamshell and both ends of stringing material go through the hole. Close the bead tip gently, but securely with chain nose pliers.


String the first bead, embedding the tail end through it. Trim that tail end close. String the remainder of your beads, ending with another bead tip. Tie an overhand knot and using a heavy needle or an awl, work the knot into the bead tip as far as you can. Tie another overhand knot OVER the first one. This can be tricky and may take some practice. Use the needle – it will help direct the knot where you want it. Insert the tail end of the wire back through the hole in the bead tip and through the last bead strung.


Add a generous dab of glue to the knot. I use Hypo-Cement because it has a narrow applicator which is perfect for inserting into the bead tip. Close this bead tip as you did the other.


Your piece is now ready for the clasp set of your choice.


Tuesday, January 26, 2010

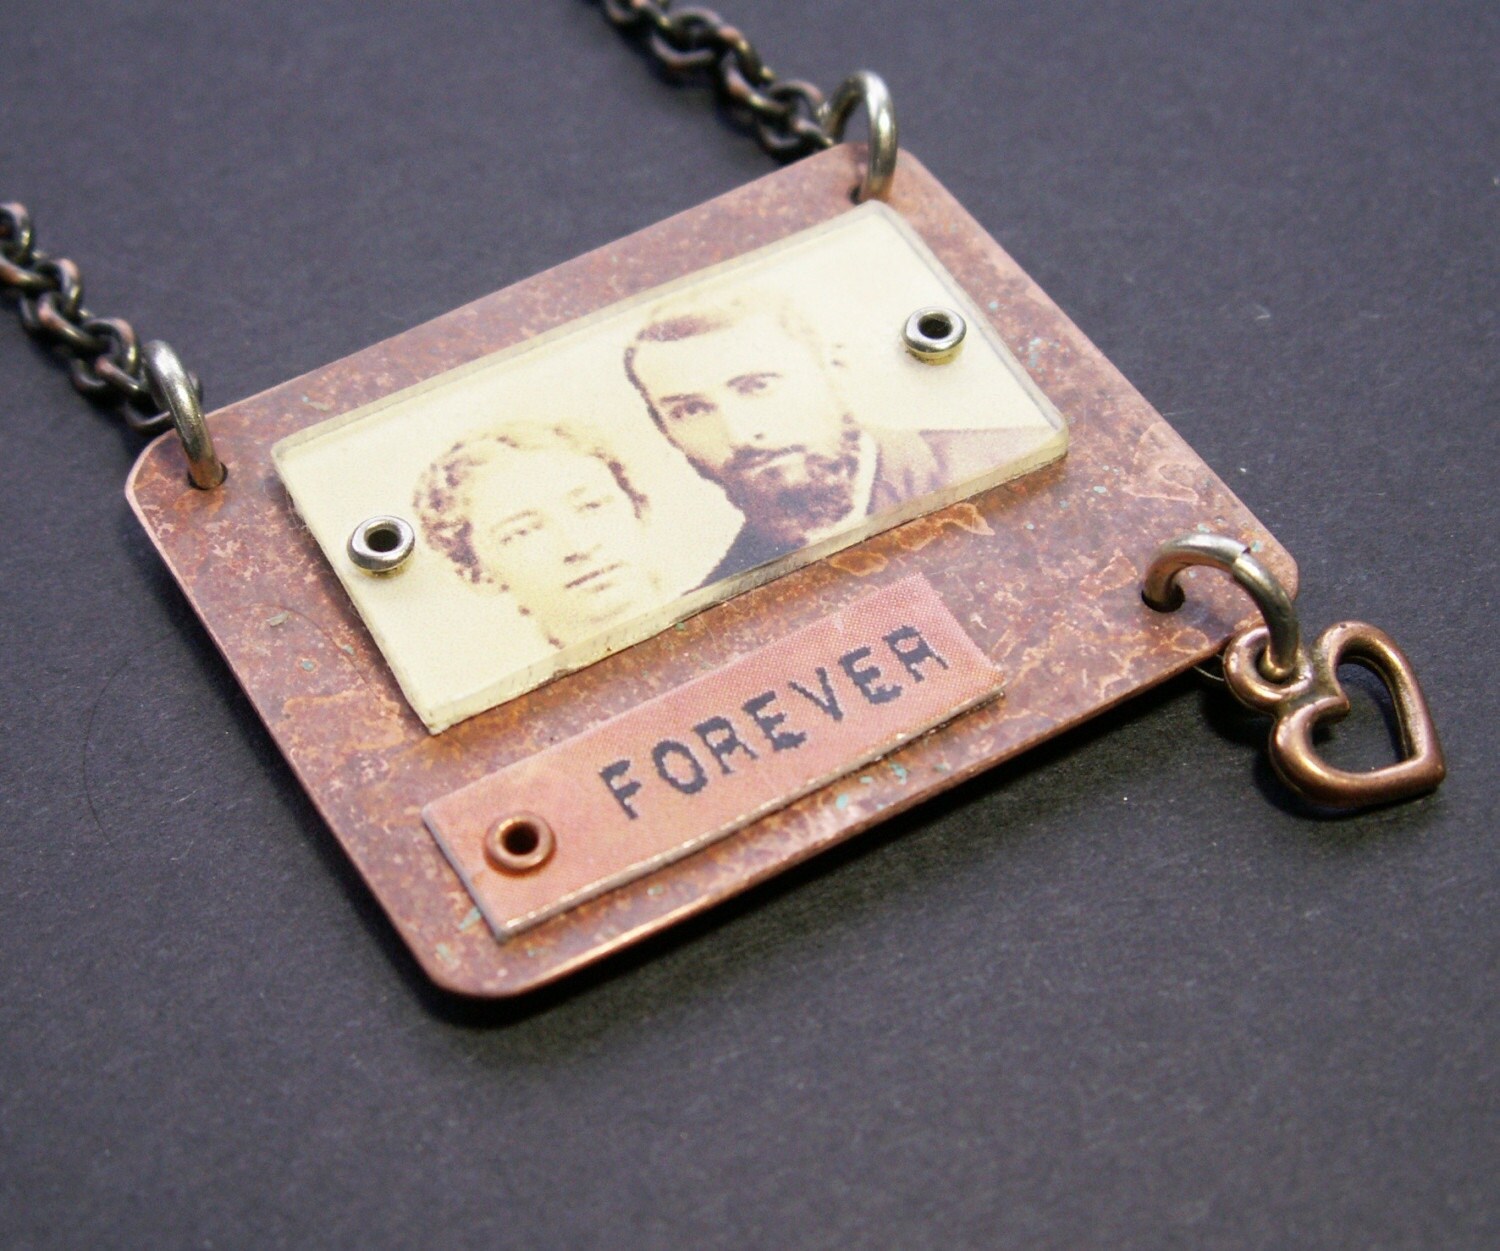
The Look of Love . Mixed Media Necklace

The team I belong to on etsy, Artisan Beaders Street Team, has started a Valentine's Day themed challenge. This is not a promotional challenge, just an design challenge, hopefully to get us off our butts and create something new!

I thought about the idea and decided to go a little unconventional. I created a mixed media necklace featuring a vintage photo of a married couple from an earlier time. Click on the photo to go to the listing and find out a bit more about the materials and techniques I used to make this one-of-a-kind necklace.

Monday, January 25, 2010

We Made Cupcakes (and Marshmallows)

My BGOTN business partner Carol, and I continually fantasize about having a food booth at the State Fair. Deep down, we know we don't have the energy or the inclination to really do this, but that doesn't keep us from dreaming up the perfect fair food.

We had been discussing cupcakes baked in ice cream cones for several months now. It's perfect for the fair, no? It does not require utensils and it can be eaten with one hand. The other day, I went to her house for a day in the kitchen. We experimented with this concept. The cupcakes were easy enough to bake. While we did not decorate them, we knew this would be vital to their success. They tasted fine when just cooled.

The experiment had to go further, however. How would these things taste after they sat for a few hours? The answer is: disgusting. The cone part absorbs quite a bit of moisture from the cupcake and becomes, well, beyond soggy. Again, disgusting.

We also made marshmallows -- 2 different recipes. These were absolutely delicious and have kept quite well, even after several days. How about 3 of these on a skewer -- marsh-kabobs anyone? These too can be eaten with one hand and do not require any utensils.

Carol of course made me the most delicious lunch: a Tuscan tart. That's really the best reason to spend the day at Carol's. She's absolutely the best cook I know. (Patty - I'm sure your cooking is on par with Carol's, but since I have not tasted it, Carol has to get The Gold!)

Sunday, January 24, 2010

Cajun Meatloaf

When I was a kid, the thought of meatloaf was enough to make me gag. If, in answer to the question "what's for dinner?", my mother's answer was meatloaf, my brother and I would run in to the other room making nasty faces. I have grown up to love meatloaf. Sorry mom.

Sometime during this period of growing up, I discovered this wonderfully different meatloaf recipe. I don't remember the source, but I suspect it was a magazine. I didn't take a photo because meatloaf just doesn't photograph well. It looks kind of gross. I'll spare you.

Cajun Meatloaf

1-2 TBSP oil
2 carrots, peeled and diced (and I do mean small dice)
1 stalk celery, diced
1 red bell pepper, diced
1 onion, finely chopped
2 cloves garlic, pressed
2 lbs ground beef
1/2 cup ketchup
2 eggs
1 cup breadcrumbs (I use Progresso with Italian seasoning)
1/4 cup milk
1 TBSP Worcestershire sauce
1 tsp salt
1 tsp ground cumin (this is the secret ingredient)
1/2 tsp pepper
1/2 tsp thyme
1/2 tsp nutmeg (this is the other secret ingredient)
1/2 tsp cayenne pepper

Saute all the vegetables in the oil until tender. Cool. Add the garlic. In a large bowl, mix the meat, ketchup, eggs, bread crumbs, Worcestershire and spices. Add the cooked vegetables. Place in large loaf pan. Bake at 375 for 1 hour and 15 minutes. Let stand 15 minutes before slicing. It will hold together better on the second day.