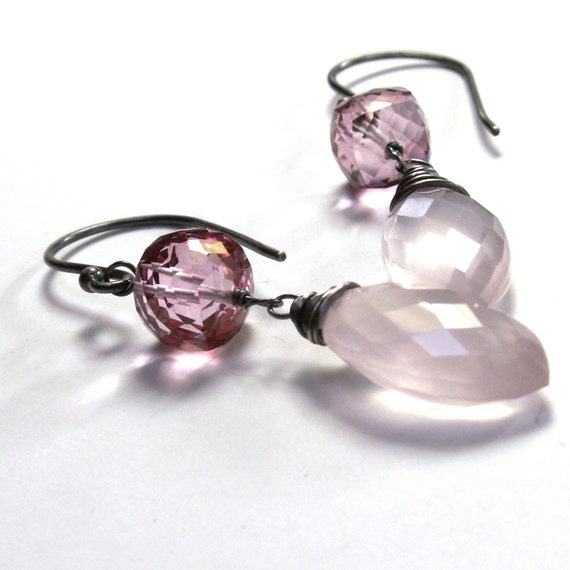
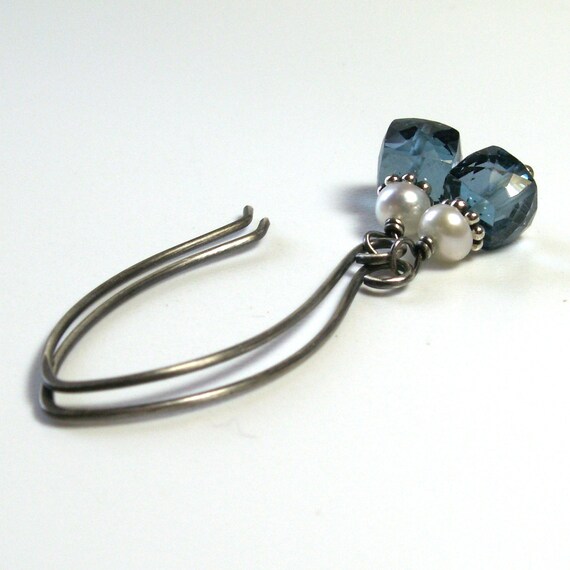
When I'm not making jewelry, I usually baking, cooking, making cards or knitting. Yay for knitting! The only problem with my love of knitting is that the finished products keep piling up. I know you're thinking I should either stop buying yarn and slow down my knitting, or try selling some of it. Well, I can't seem to stop buying yarn and I do try to sell some. But I don't try very hard. I have some scarves listed in my other etsy shop, A Peaceful Life and I have some bags and scarves for sale at Dragonfly Gallery in Soldotna. These two outlets don't even make a dent in the pile of knits I'm looking at.
Soooo, it's time for a giveaway!
I bought this gorgeous hand-dyed yarn from Phydeaux Designs. Check out her etsy shop where you will find tons of lovely yarns and fun patterns. I purchased a beautiful neck warmer pattern from Rabbit Ridge Designs. It was a match made in heaven. Here is the resulting neck warmer:
.JPG)
Sorry, but that is NOT the item I'm giving away. What a tease, right?
Naturally, I had a bit of that multi-colored yarn left over. I searched through my massive yarn stash and found some solid green pima cotton/tencel blend yarn that looked great with the Phydeaux yarn. I turned to one of my favorite scarf patterns and here is the result:
.JPG)
It's about 62" long and 4" wide and the body of the scarf is done in seed stitch, which adds a nice bumpy (but so soft) texture. The ruffle is done with the leftover yarn from the neck warmer.
As you can see, 60" is long enough to go around your neck twice. Yes, this is the item that I'm giving away! All you have to do is leave a comment and I will use a random number generator to select the winner. Because this is a holiday, I'm going to keep this giveaway open through the end of the week. I will select the winning number late on Friday, January 4.
May the odds be ever in your favor!
(Yes, I stole that line from the Hunger Games.)
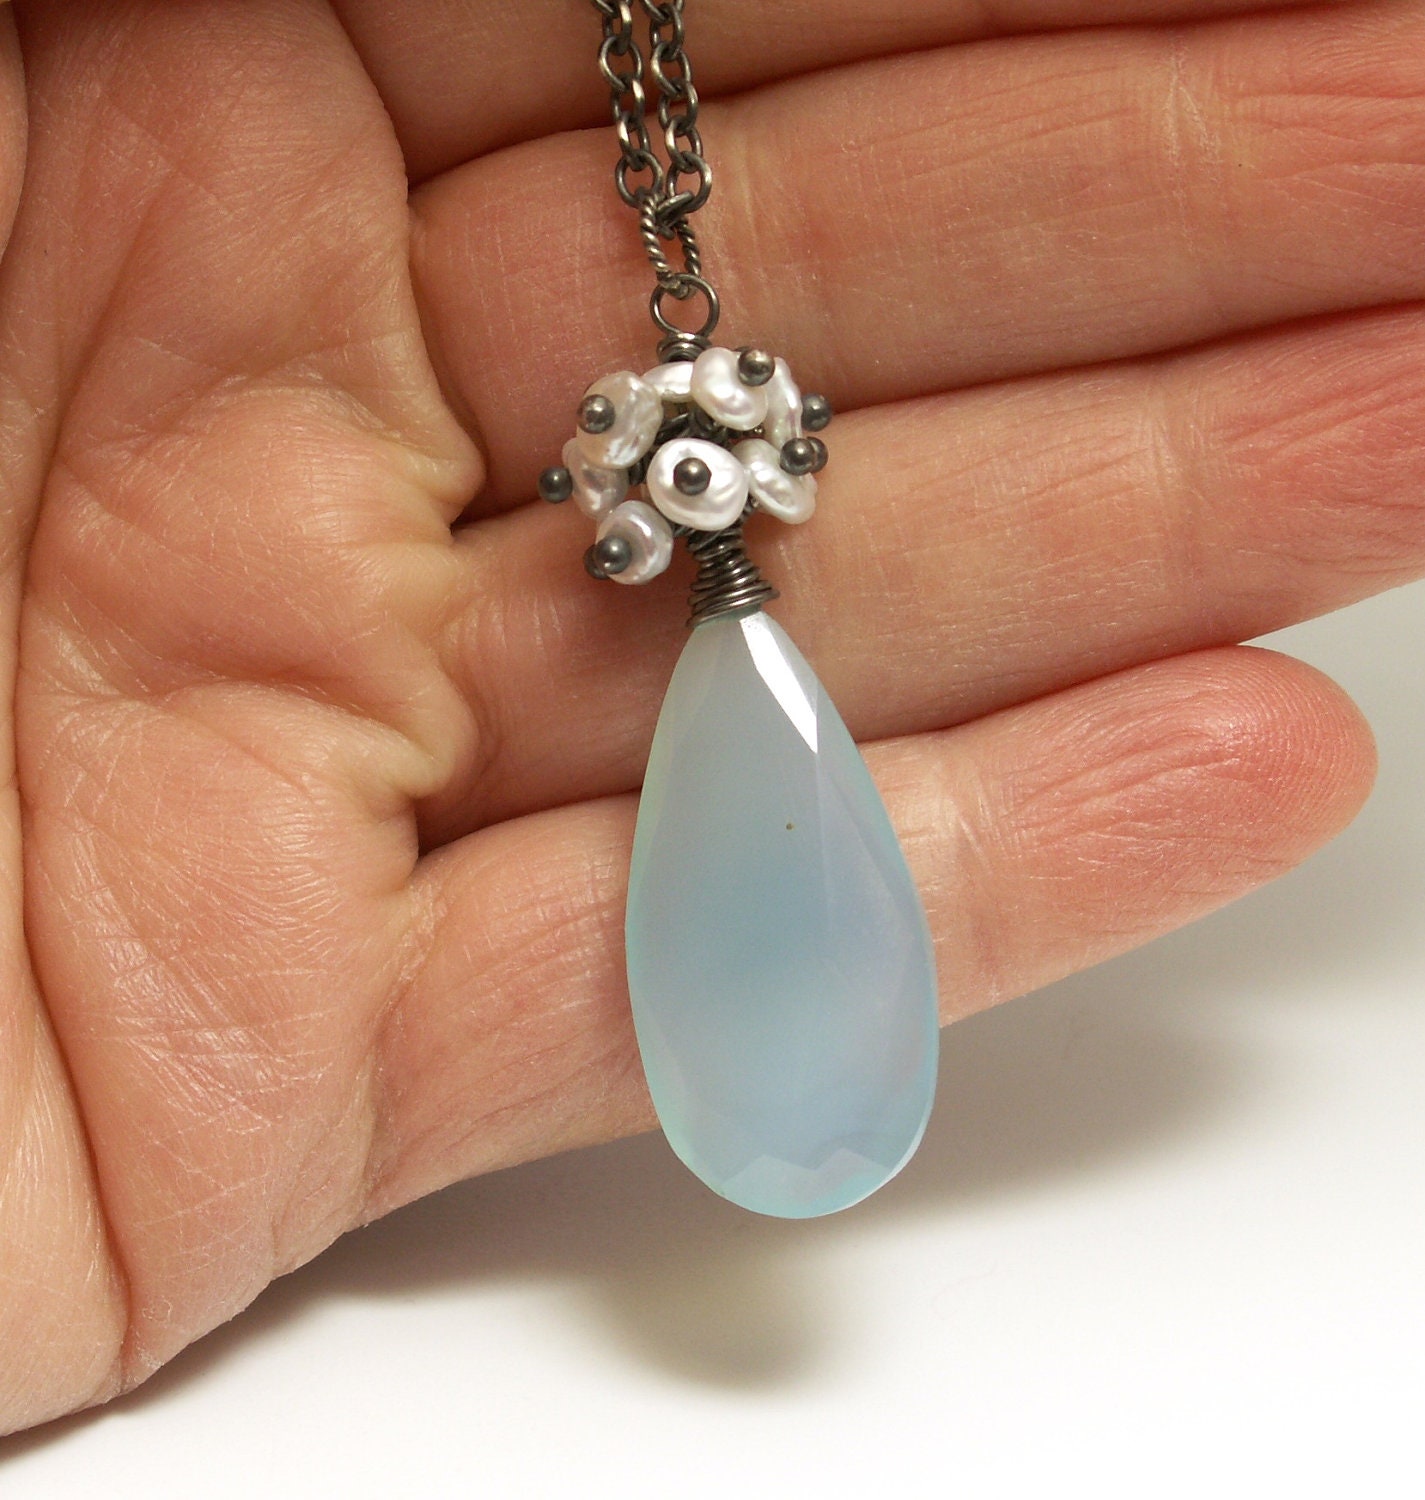
.JPG)


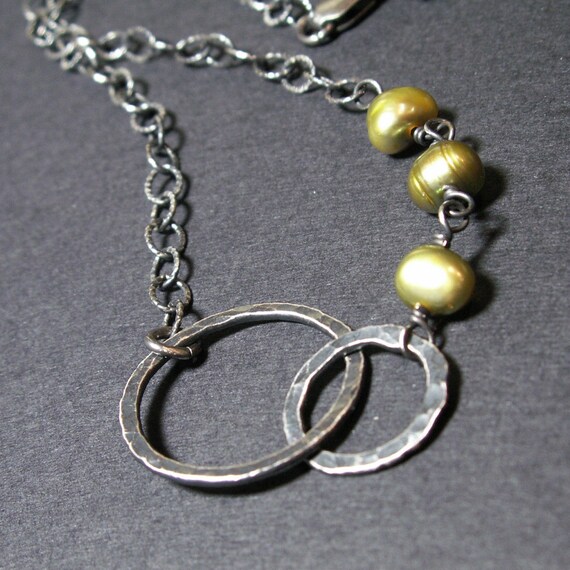
.JPG)